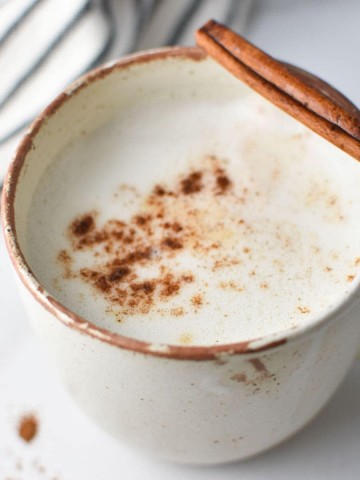
Start your morning with the most delicious Cinnamon Scones! These scones with a cinnamon oat topping are a little crisp on the outside and fluffy on the inside. They're perfect to enjoy with a warm cinnamon milk on a cool morning.
With a gluten free and dairy free option, they are great to make ahead for a holiday weekend and extremely freezer-friendly. The cinnamon sugar topping gives these fluffy scones a great crunch.
This cinnamon scones recipe was developed in partnership with my food blogger friend and author, Nicole Hampton of Dough-Eyed. She has her own high-altitude version so you can enjoy these cinnamon scones at sea level or in the mountains.
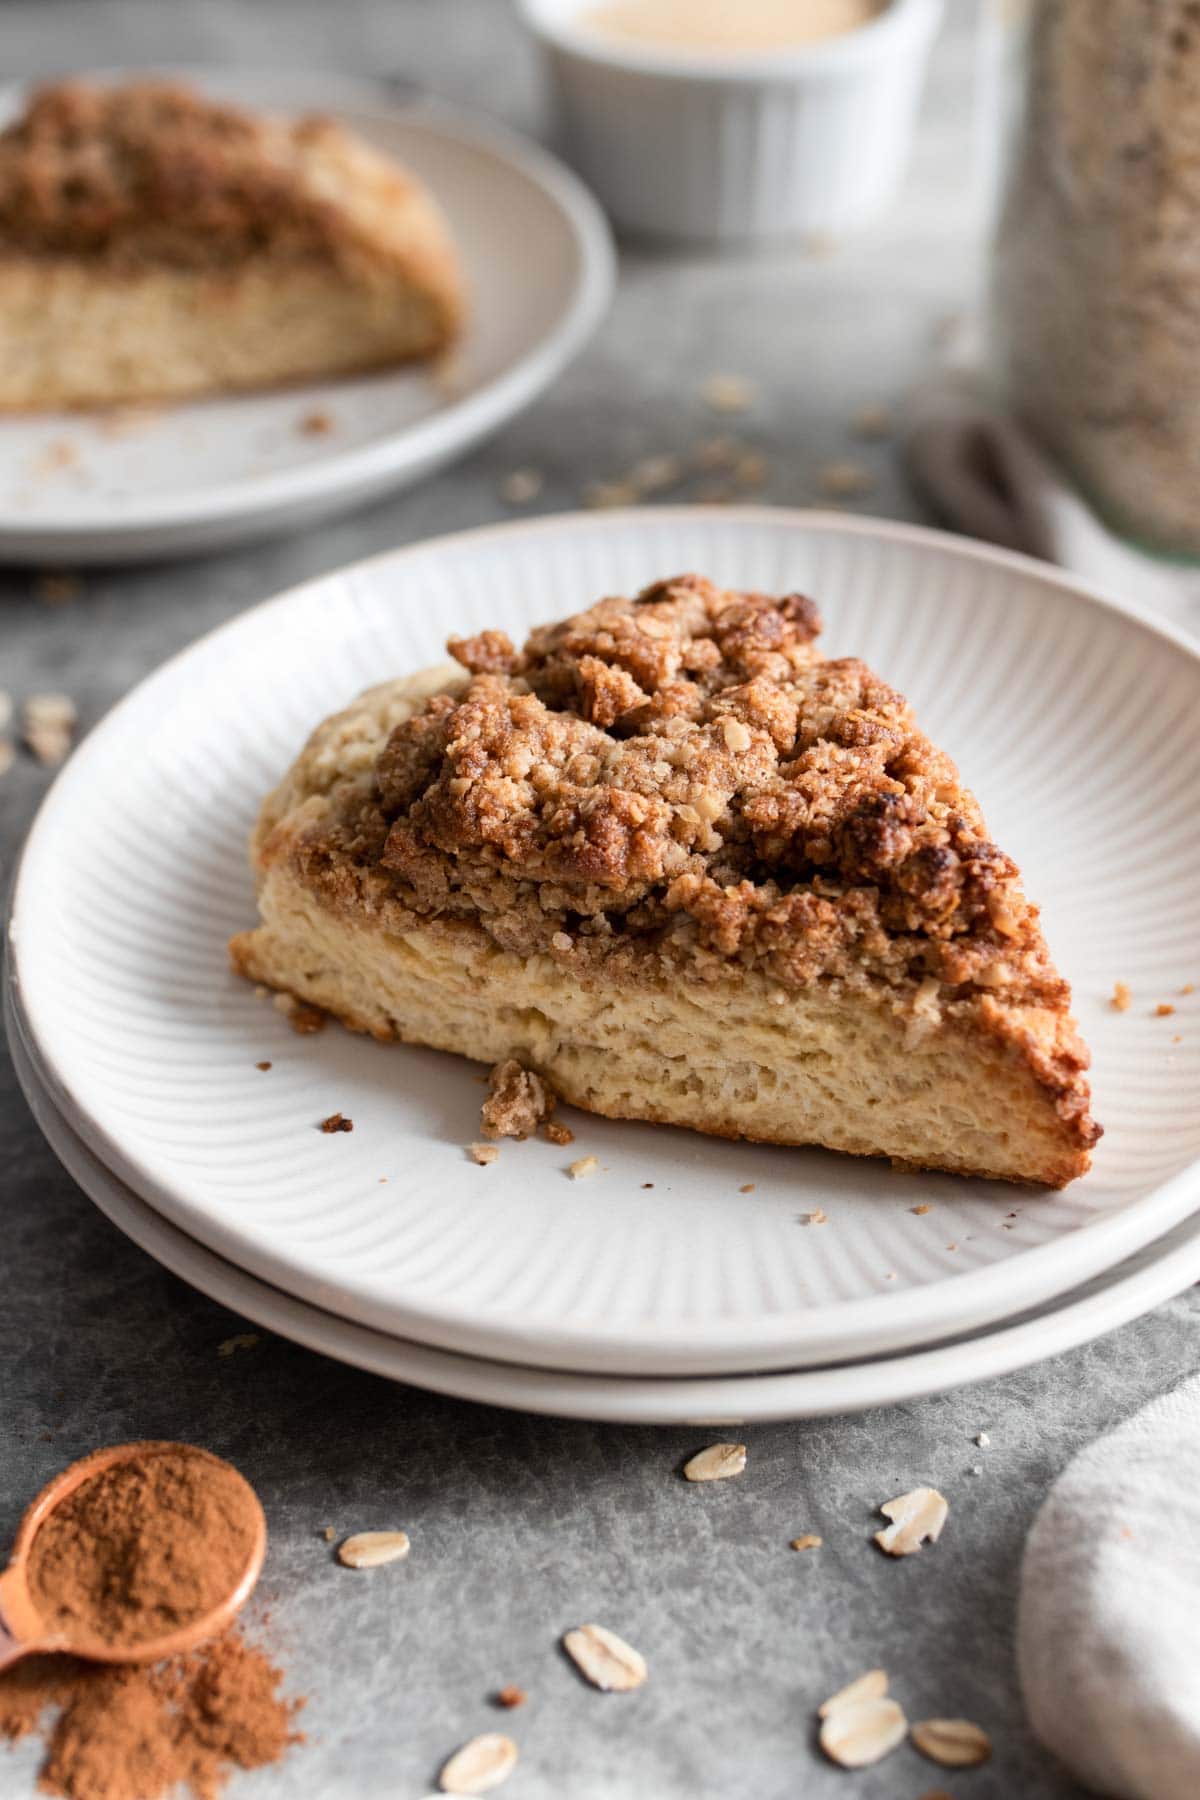
Why we love this cinnamon scone recipe:
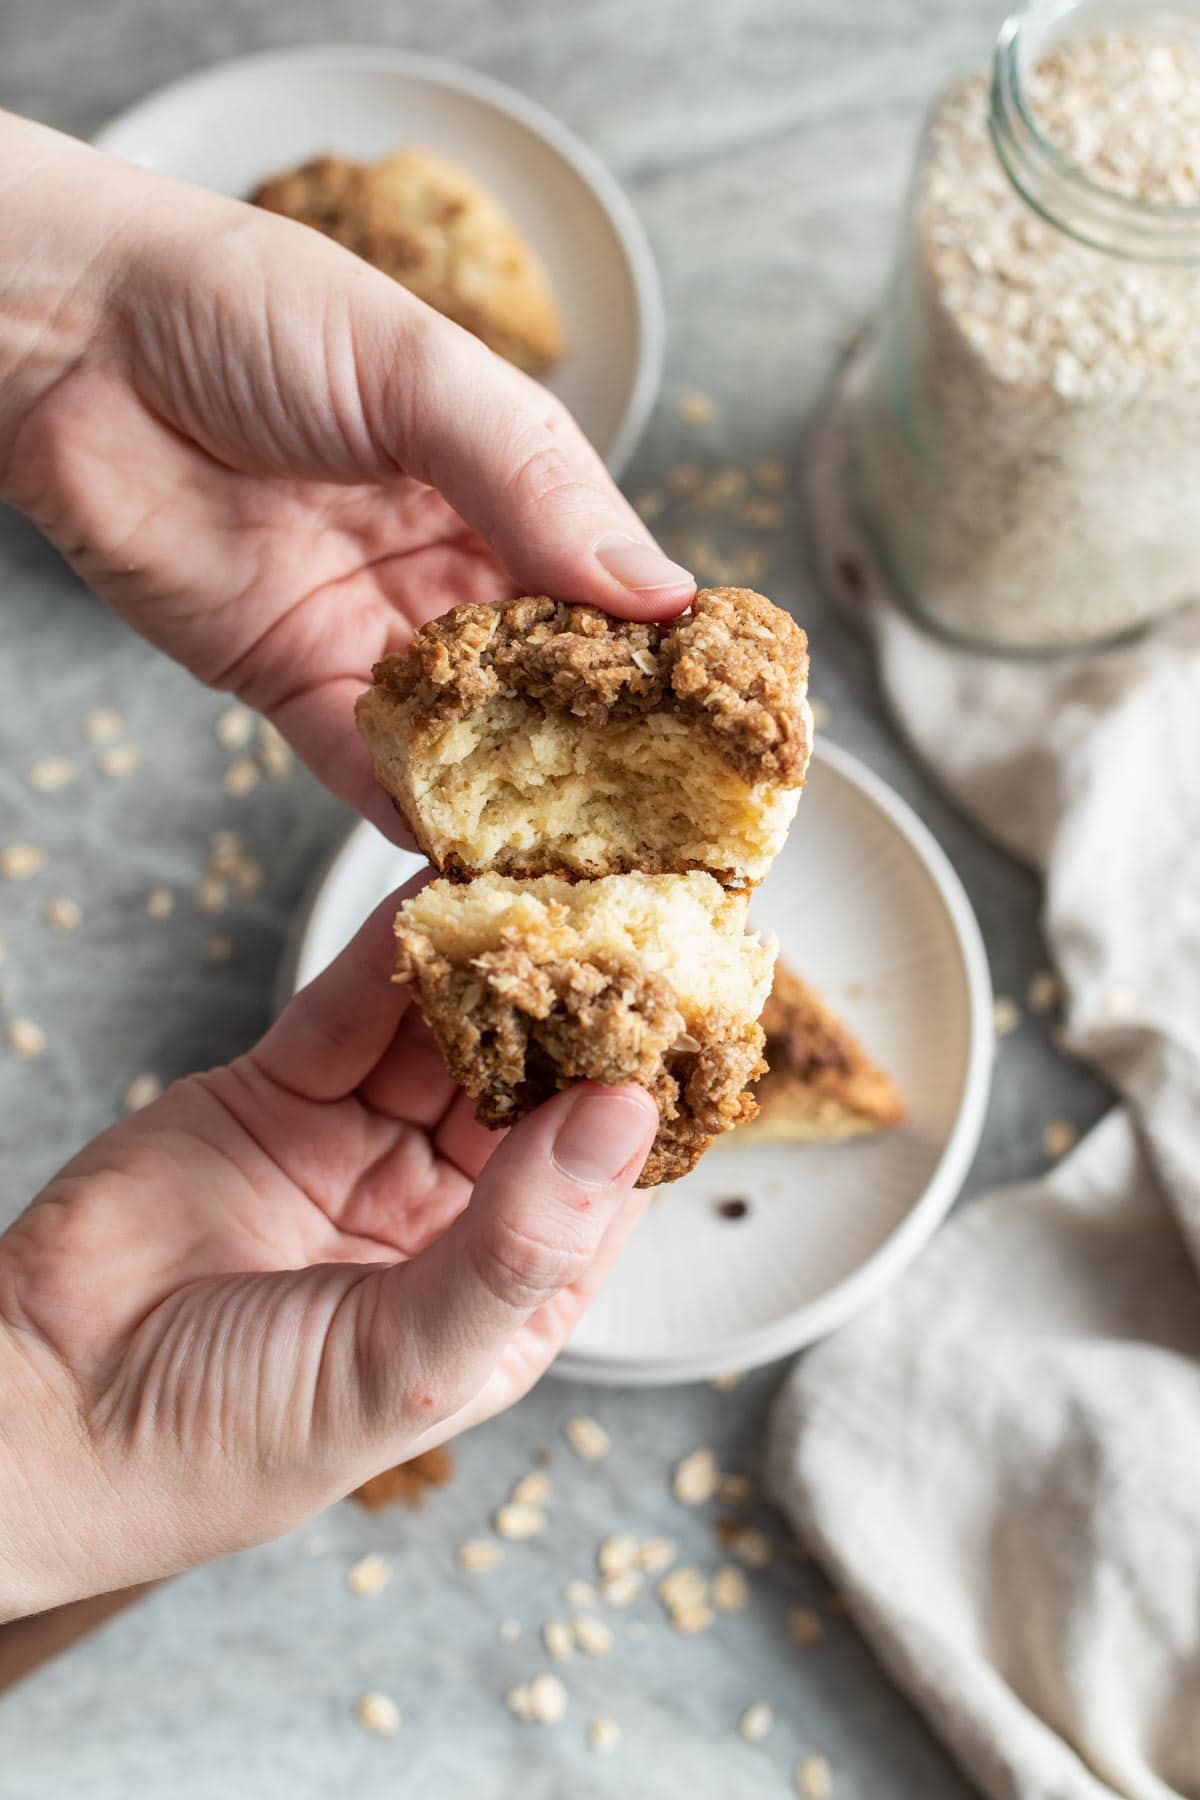
- The perfect texture with a crunchy cinnamon sugar topping, but a fluffy scone interior.
- Great for breakfast - They're easy to make ahead or on a slow morning.
- Freezer friendly - These make great gifts for friends and family.
- Allergy-friendly - This recipe can easily be made gluten free and dairy free.
If you're intimidated by making scones, I'll give you lots of tips and tricks along the way to make these as easy as possible. And if you're looking for other easy breakfast breads, try my cinnamon oat muffins or drop biscuits!
Jump to:
Tips for the Perfect Scones
- Don't be afraid to play around with the flour to liquid ratio. The dough should be slightly sticky, but not enough that you can't pat it out to about a 2 inch thickness. I found on some days if it was rainy, I had to use more flour...the joys of baking!
- Make sure you're working with cold shortening. It will be easier to work into the dough. You can use a pastry cutter or your fingers (I used my fingers). Also don't skip chilling your dough. This will help prevent spreading in the oven.
- You can make your own oat flour out of pulsing gluten free rolled oats in the food processor.
- Avoid using thin milk like nut milks or rice milk for these cinnamon scones. I find full fat oat milk or whole milk to work best.
Ingredients
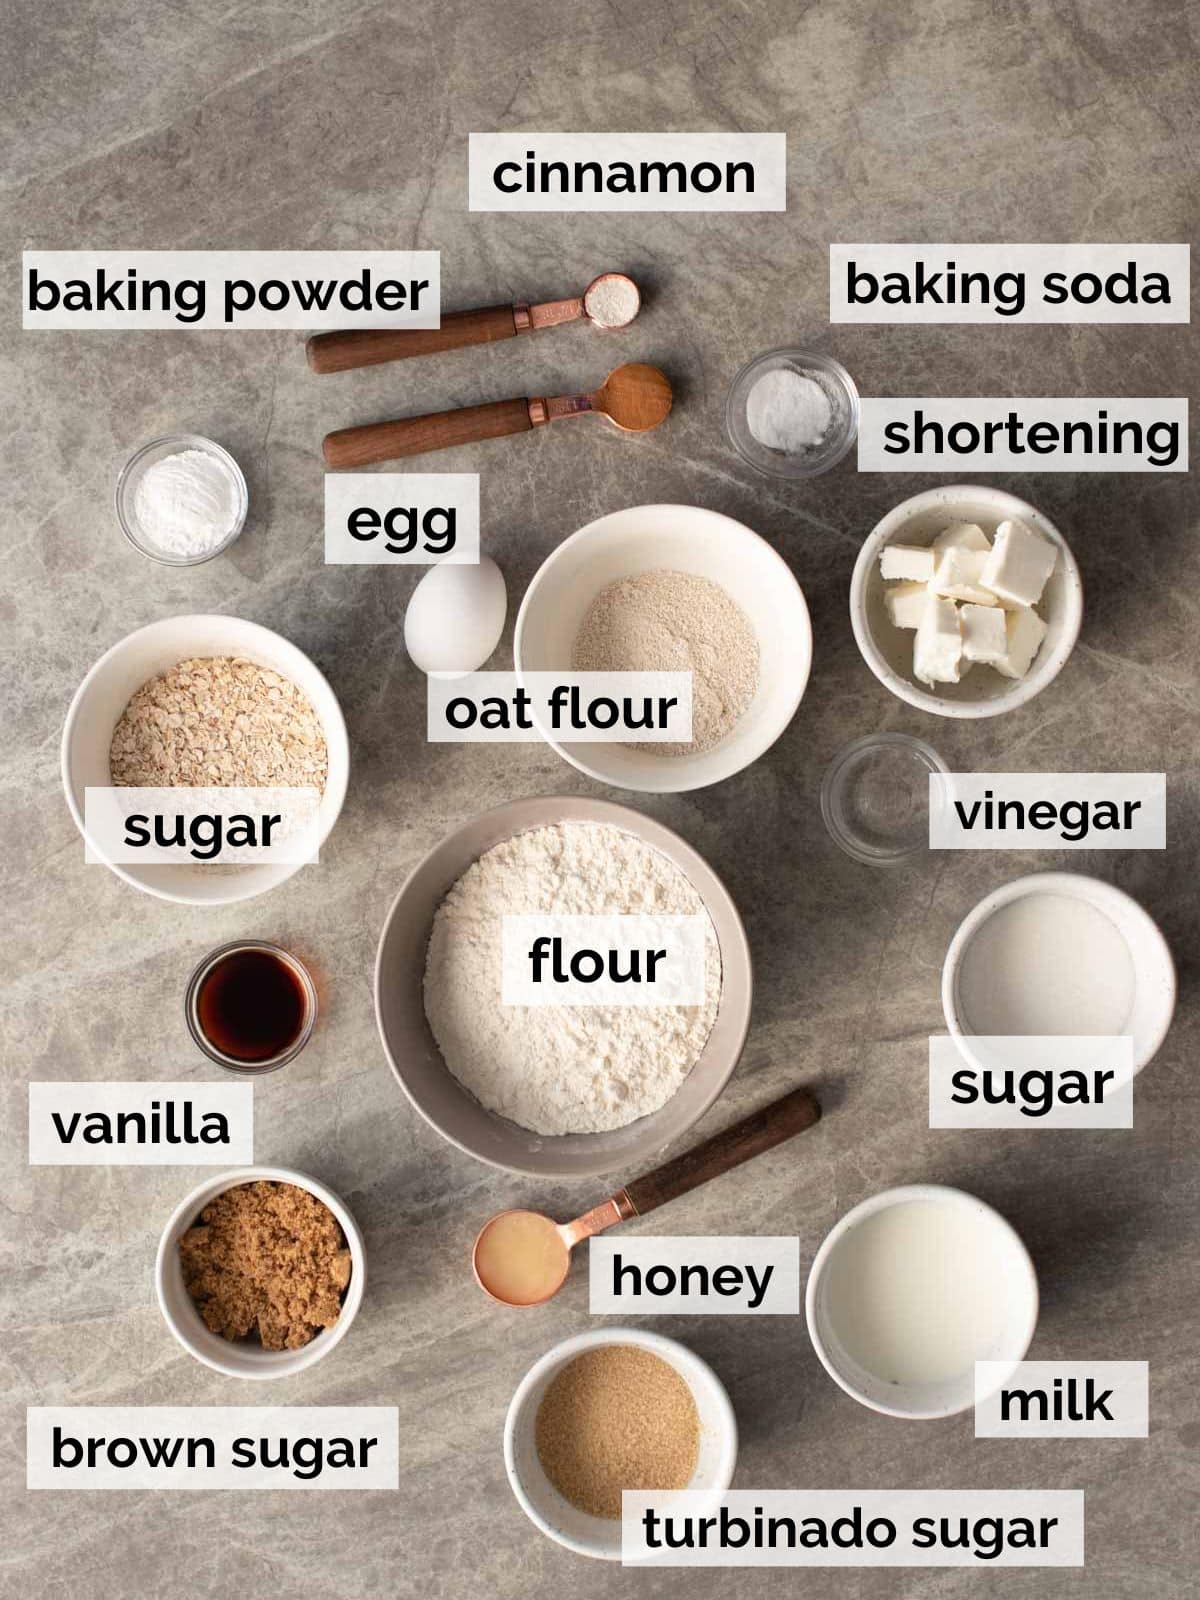
No hard to find cinnamon chips in this recipe, just a crispy cinnamon oat crust!
- Flour - All purpose flour like Gold Medal, White Wings, or Bob's Red Mill Organic are my favorites. This recipe also works great with Bob's Red Mill 1:1 Gluten Free Flour.
- Oat Flour and Rolled Oats - You can easily make the oat flour by grinding rolled oats in a food processor!
- Baking Powder - Because we use a full tablespoon here, I recommend finding an aluminum-free brand for the best taste. Baking soda is also needed.
- White sugar - A small amount of white sugar is needed, but these aren't too sweet!
- Brown Sugar and Turbinado Sugar - Both are needed for the cinnamon crunch crust with turbinado (also known as Sugar in the Raw) adding a crunch!
- Shortening - This MUST be chilled! I use Spectrum or Nutiva, but bars are much easier to measure with more accurately.
- Milk - Use a full fat milk like oat milk or whole milk.
- Distilled white vinegar - This is used to provide some acidity and activate the leavening agents.
- Cold large egg
- Vanilla Extract
- Cinnamon - The star ingredient, you'll love the flavor in these cinnamon scones!
A Note on Shortening
While I prefer the ingredients of tub shortenings like Nutiva or Spectrum, they're really difficult to measure accurately, especially since they need to be cold. You can get around this two ways:
- Buy block form shortening
- Measure the shortening at room temperature, then chill.
You can also use butter as a substitute for shortening for these cinnamon scones.
How to Make Cinnamon Scones
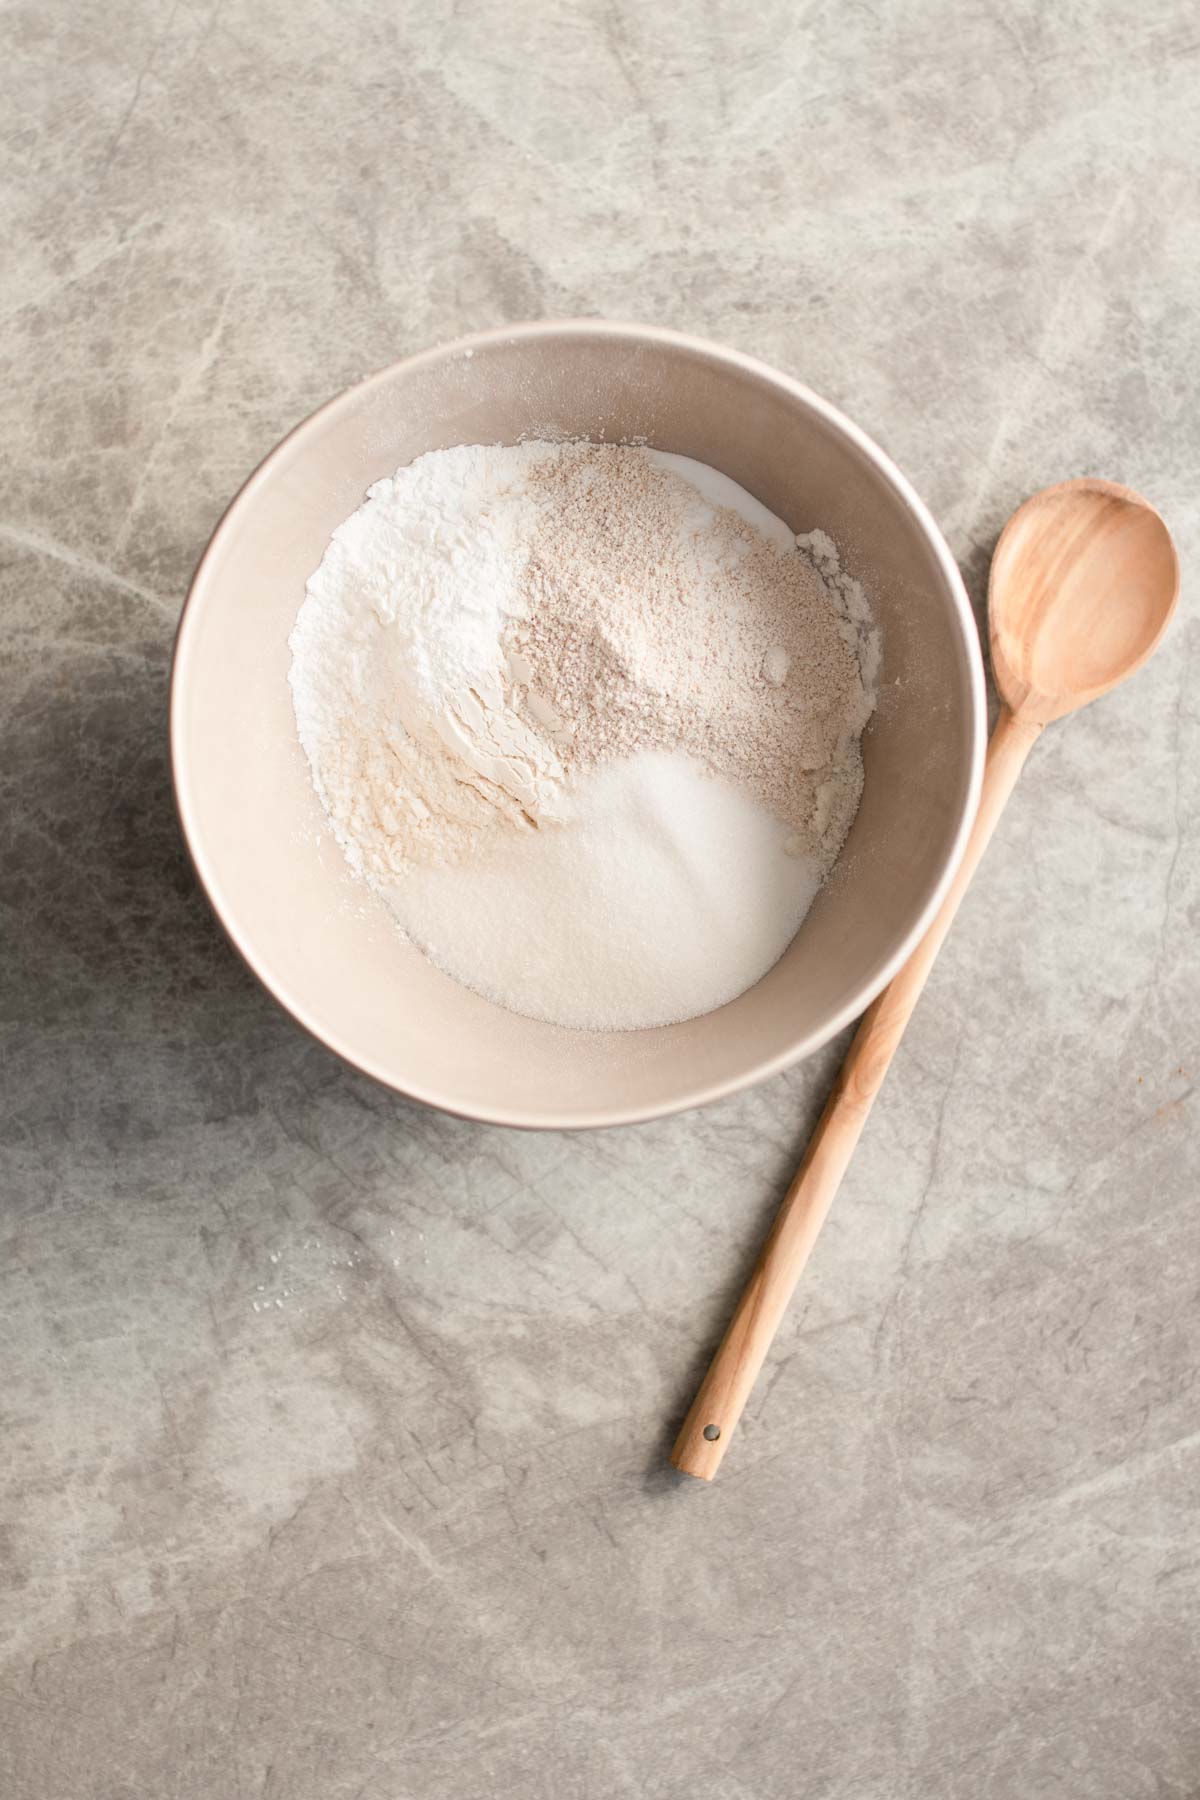

Step 1: Mix together dry ingredients
In a large bowl stir together the all purpose flour, oat flour, baking powder, baking soda, sugar, and salt. Add in the cold shortening using a pastry cutter or fork, combining the shortening into the flour until crumbly.
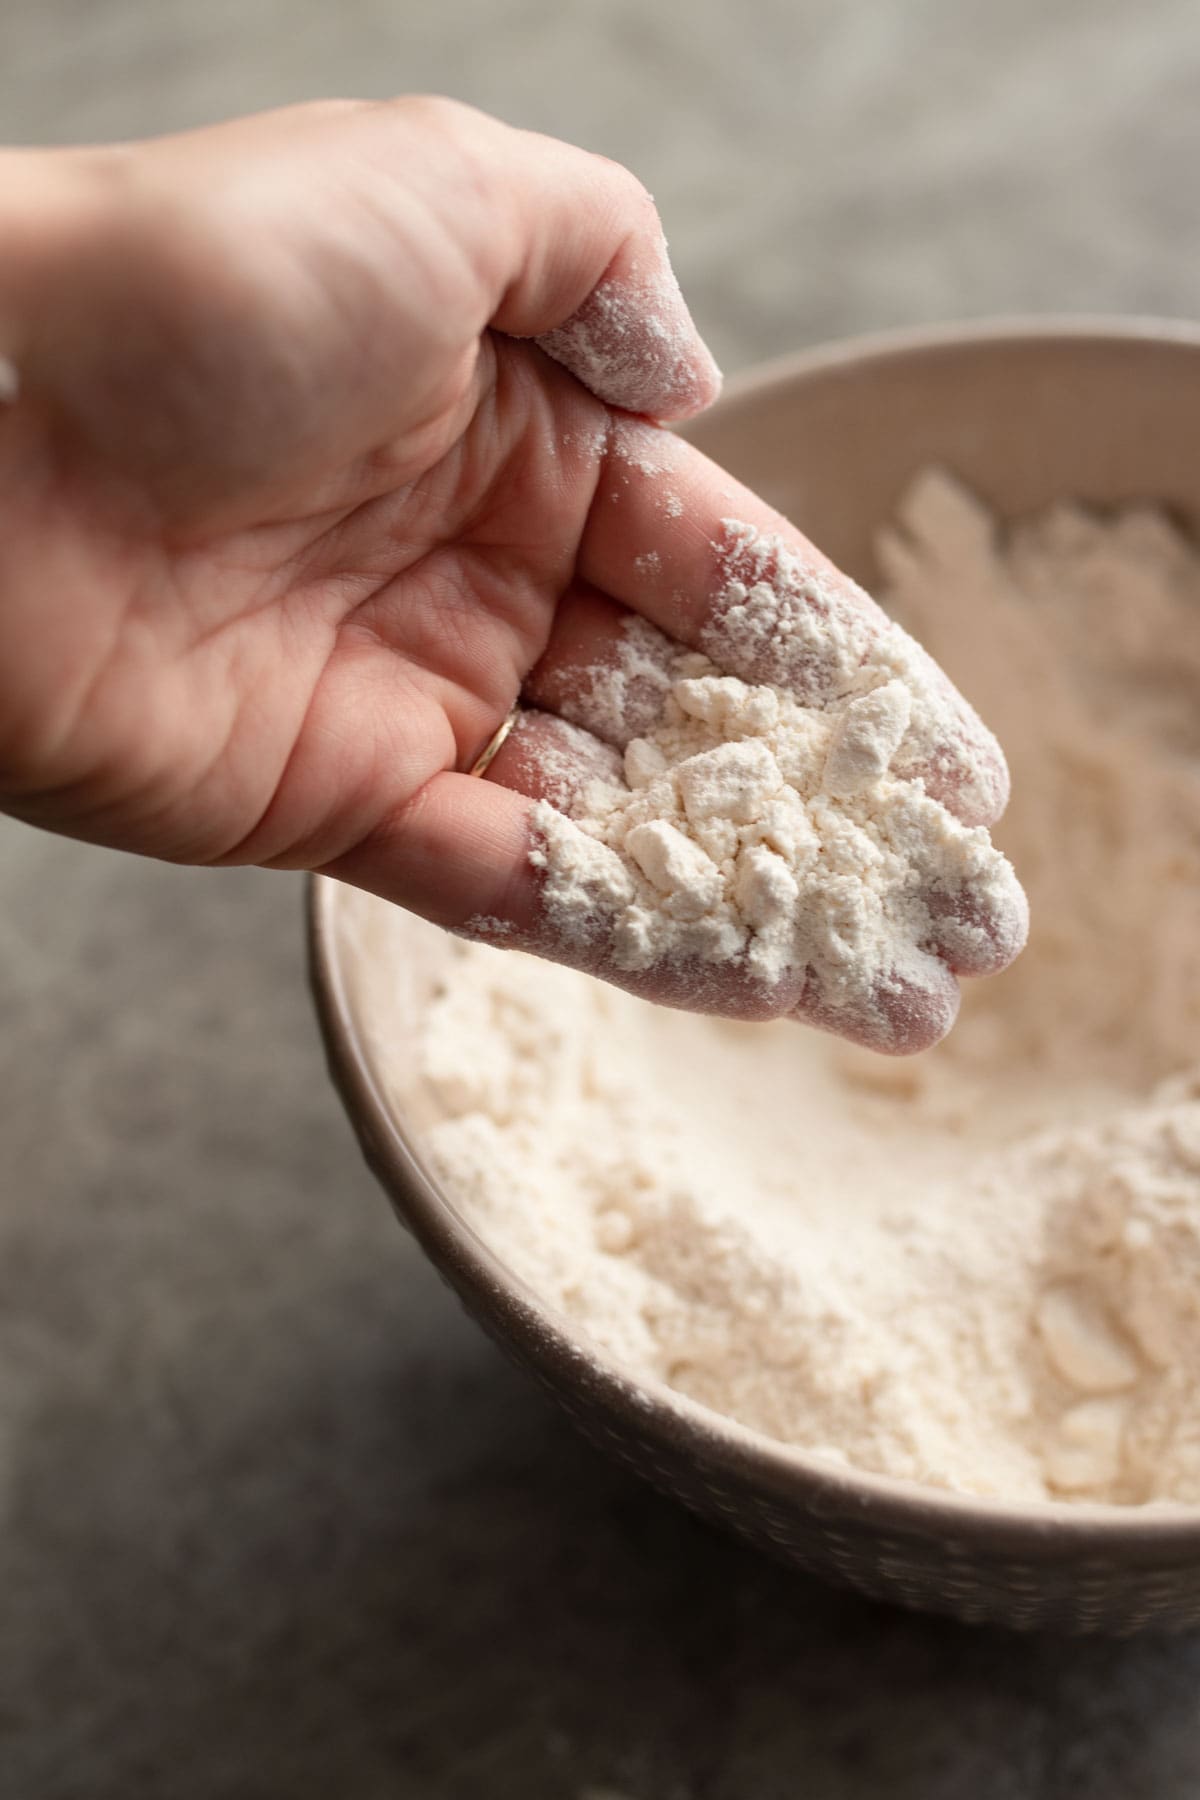
Step 2: Mix together wet ingredients
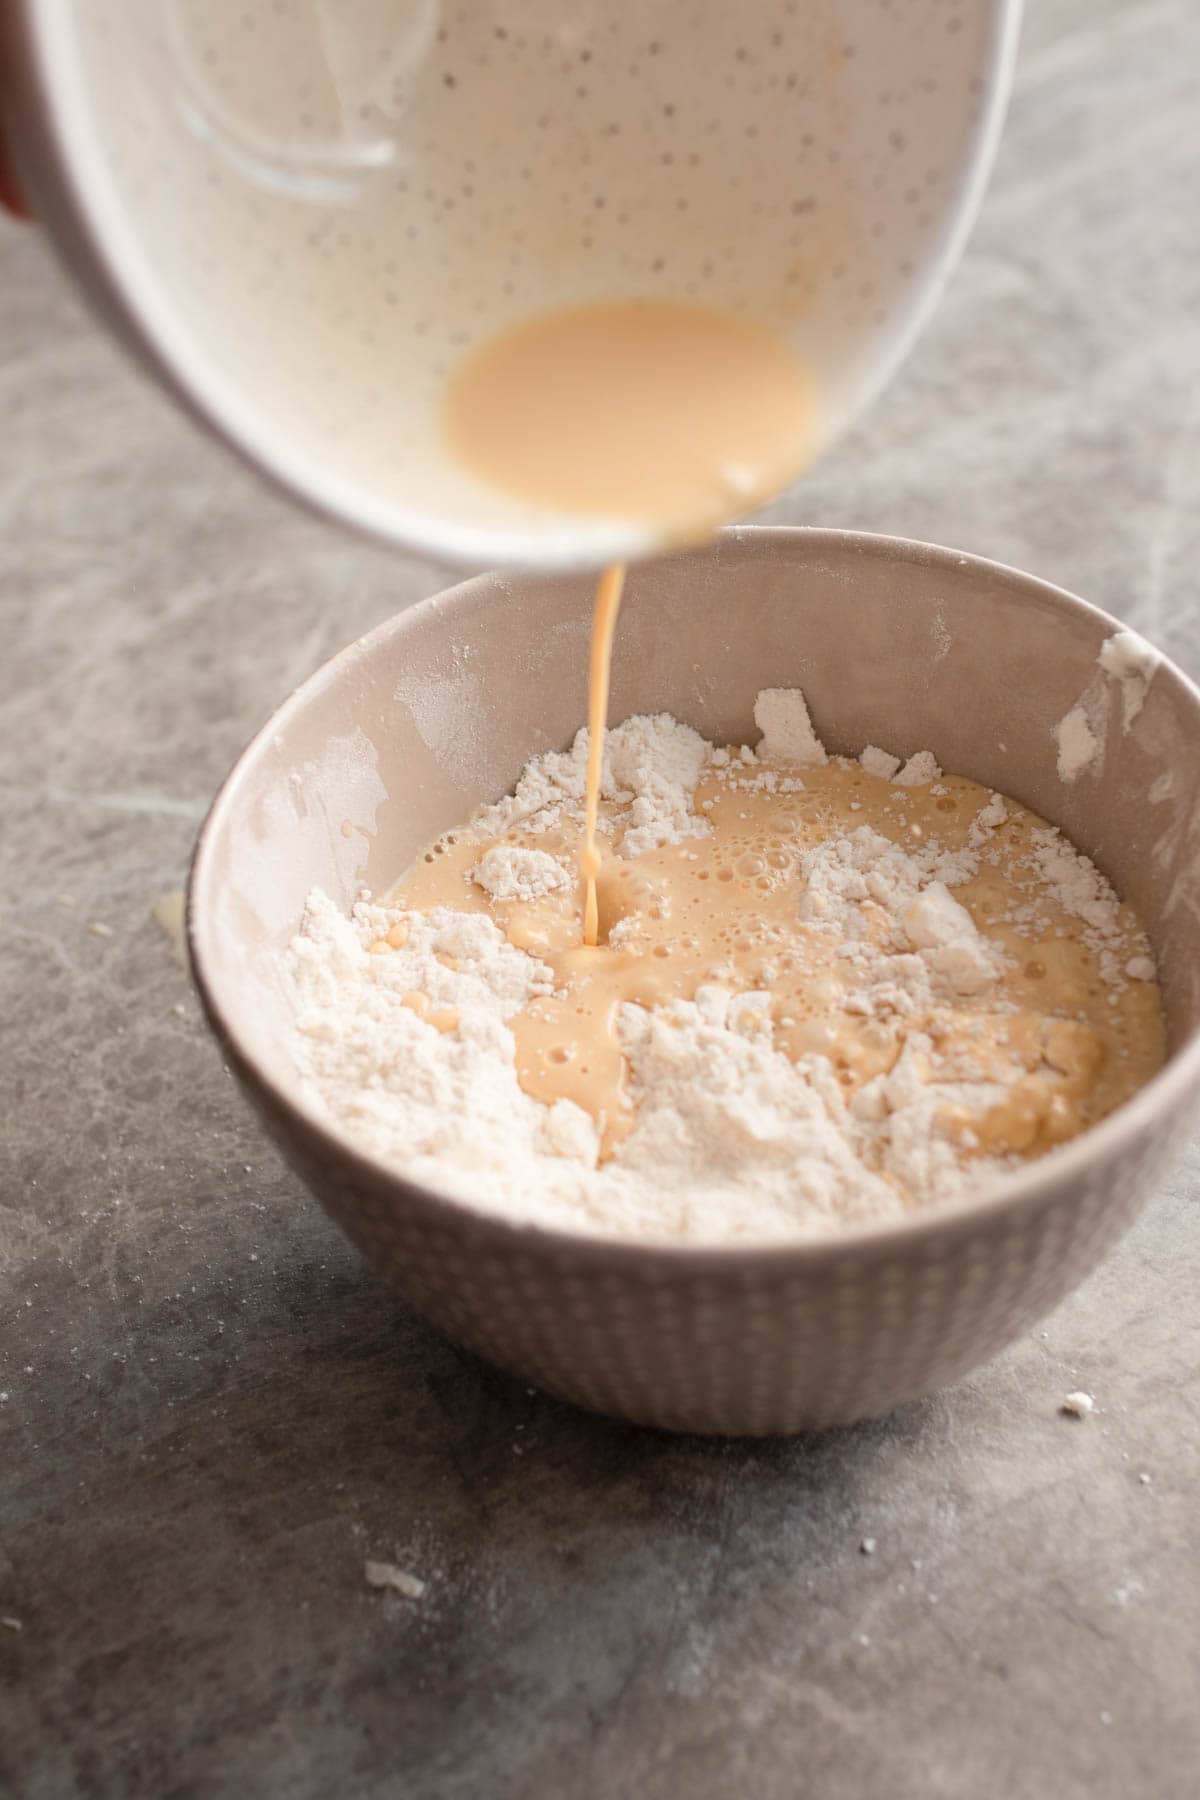
In a medium bowl, whisk together the oat milk white vinegar, egg and vanilla extract. Pour this into the dry mixture, stir with a wood spoon or dough whisk, until a dough forms. If the dough seems too dry, add in a little more milk.
Step 3: Form dough
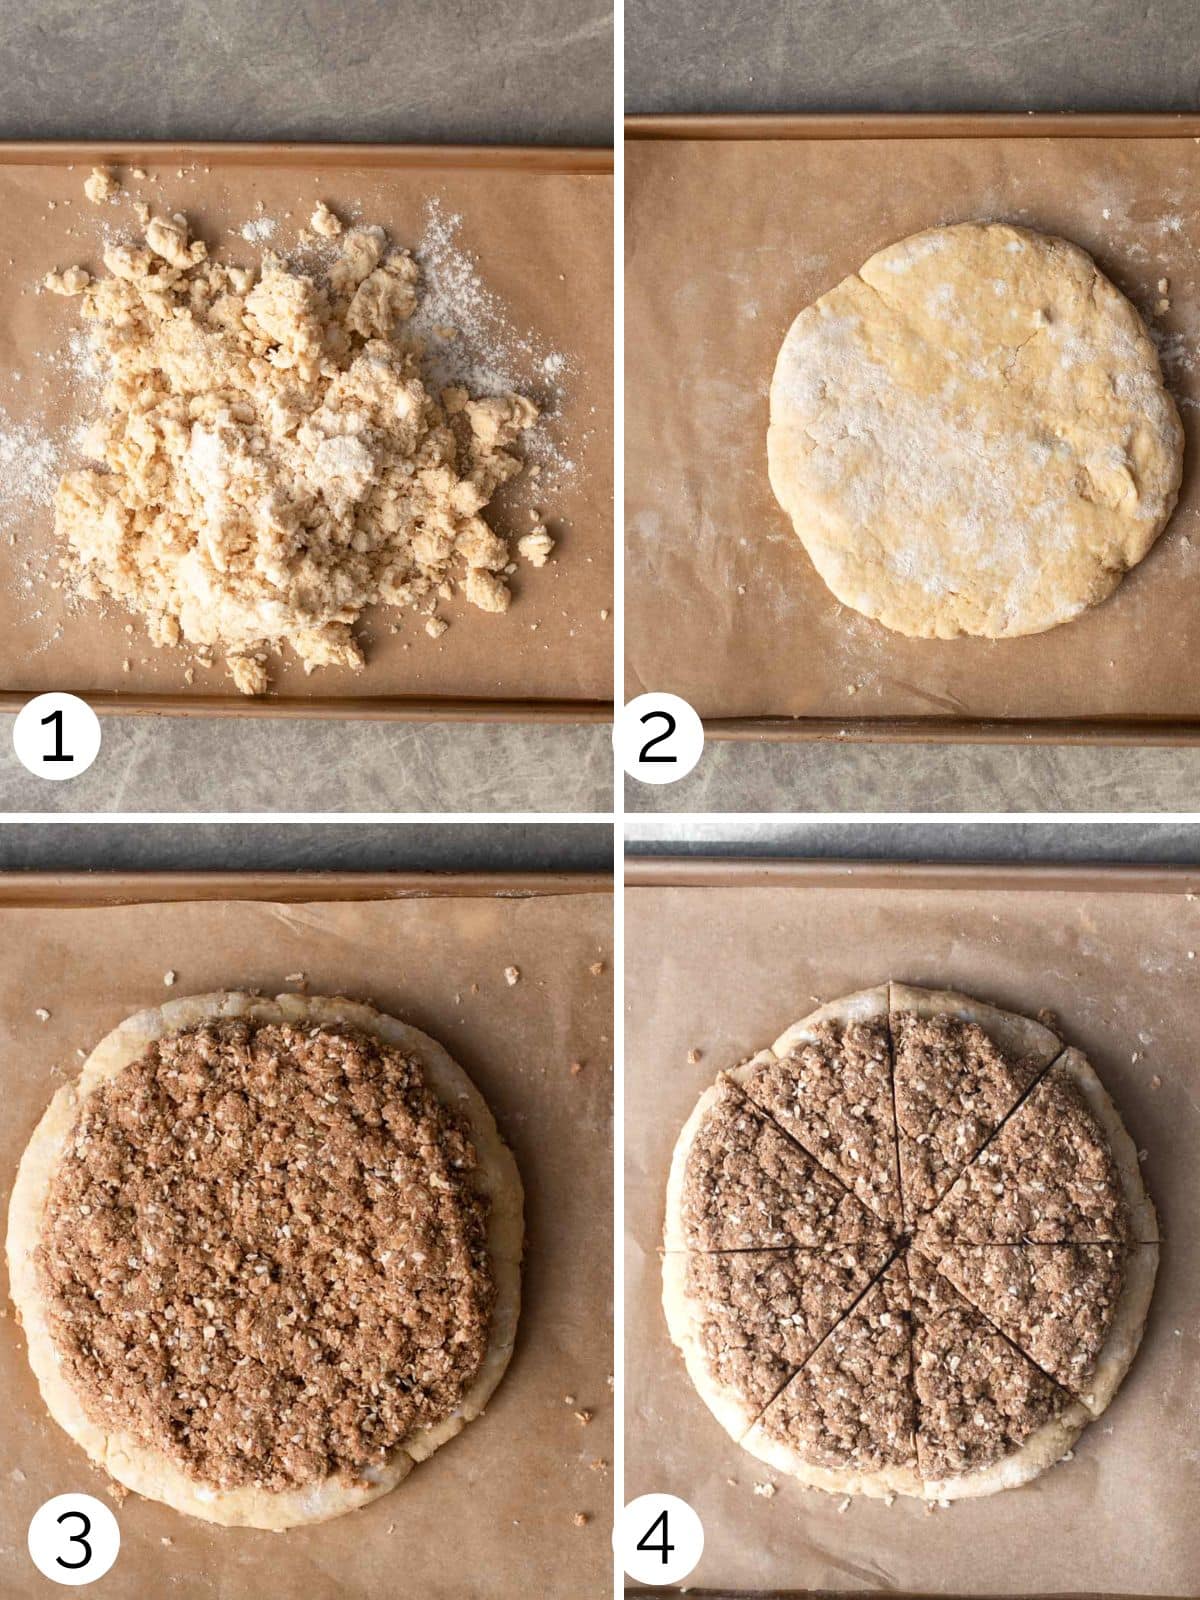
Lightly sprinkle extra flour over a workspace and place the dough on top. Form into a disc about 1 ½ inches thick. Don't overwork the dough but you can sprinkle more flour on it if it's too sticky to work with. Set aside on a sheet pan covered with parchment.
Step 4: Make cinnamon oat crisp
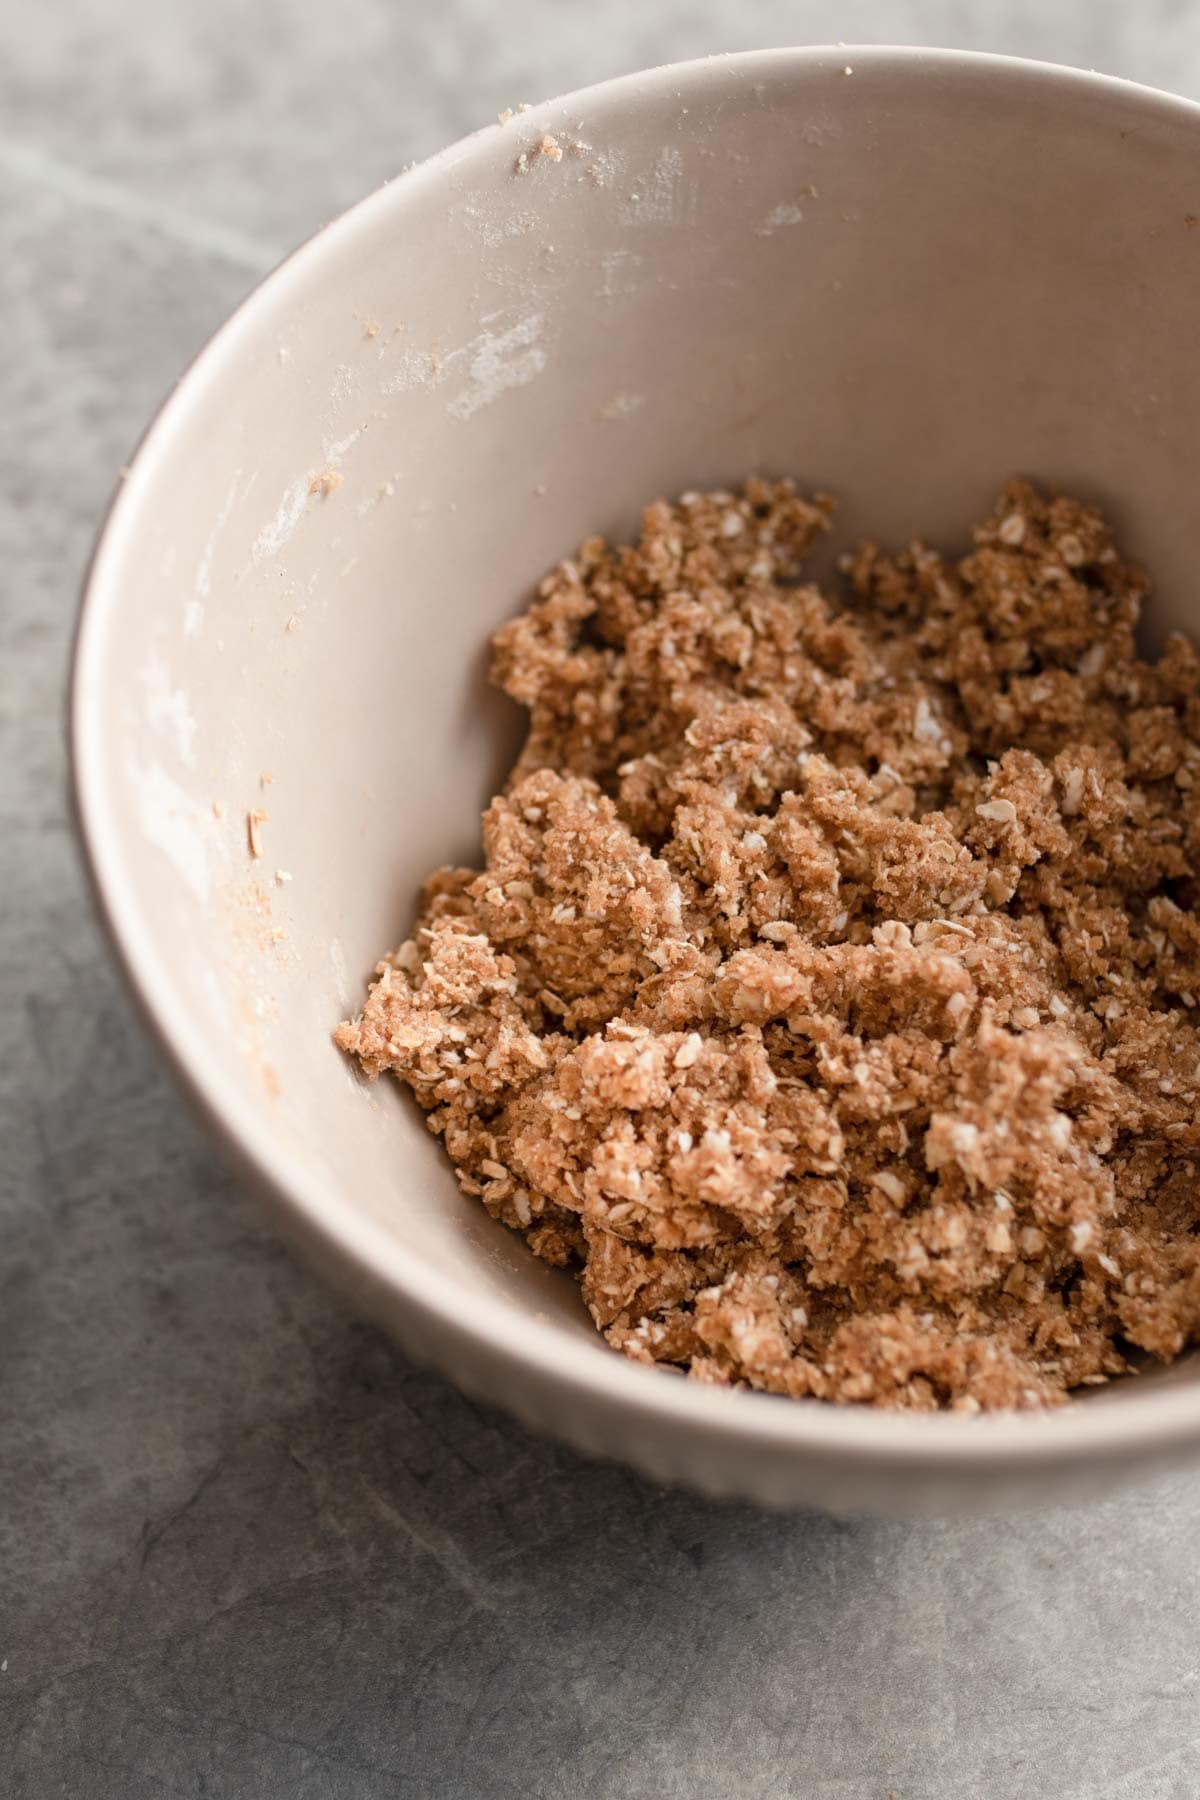
In a medium bowl, stir together shortening, honey, brown sugar, turbinado sugar, oat flour, cinnamon, oats, and salt. Using a fork or your fingers (be careful with fingers as you don't want to melt the shortening too much), work in the shortening till crumbs form. Be sure to mix thoroughly so there are no lumps of shortening.
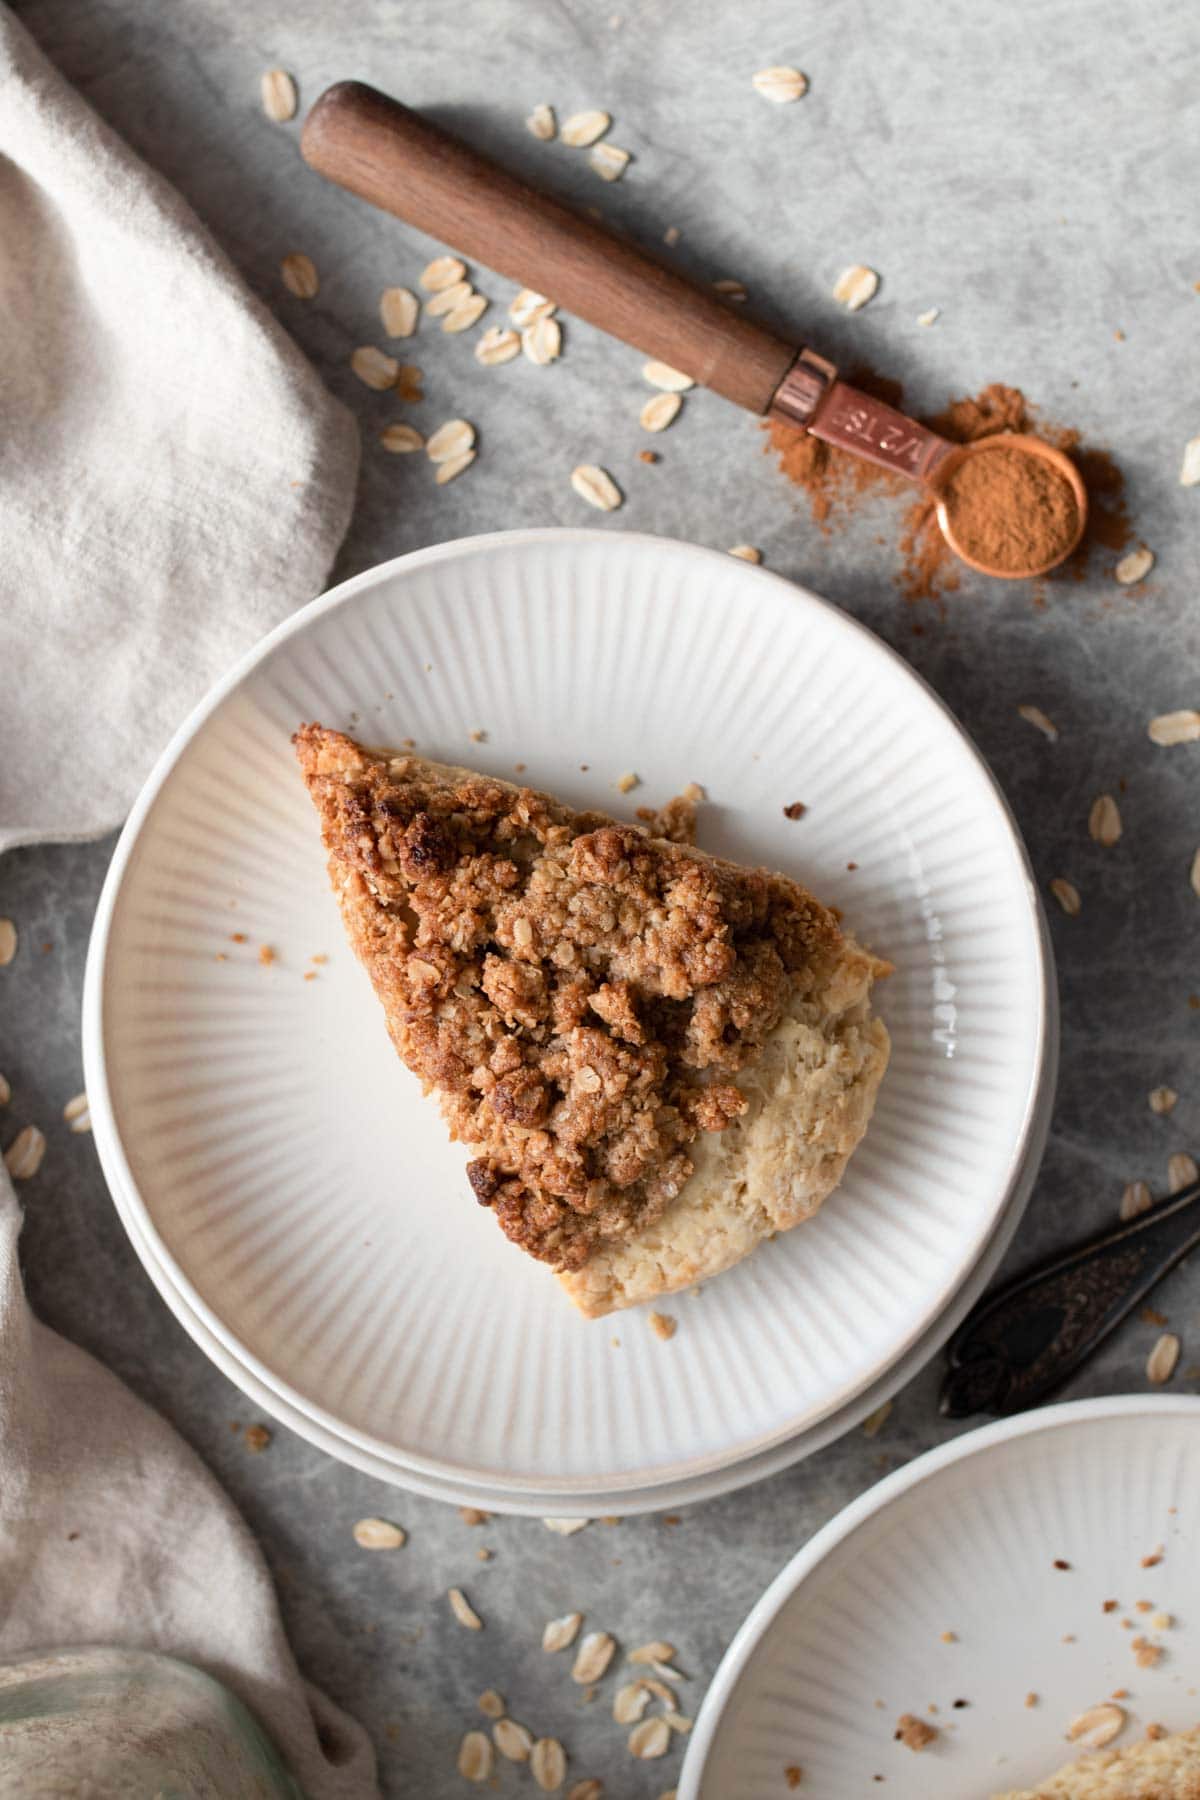
Pile the crumb on top of the cinnamon scone dough. Press it evenly into the disc, reaching the edges, and creating a fairly even layer. This will press down your scone dough to about 1 inch thick. Cover the dough disk in plastic wrap and chill for 30 minutes.
Step 5: Bake the scones
While the dough is chilling, preheat oven to 425 degrees Fahrenheit and prepare a second parchment paper. Remove the chilled dough and use a knife or bench scrapper to cut the disc into 8 even triangles.
Place onto the new parchment paper that is on the baking sheet. Leave at least an inch or two between the scones.
Bake for 14-17 minutes or until cinnamon scones are puffed and golden brown on the edges and on top. Let them cool for 5 minutes on the sheet pan then transfer to a cooling rack or serve warm.
Sometimes the topping bubbles over the sides - this is ok!
Serving Suggestions
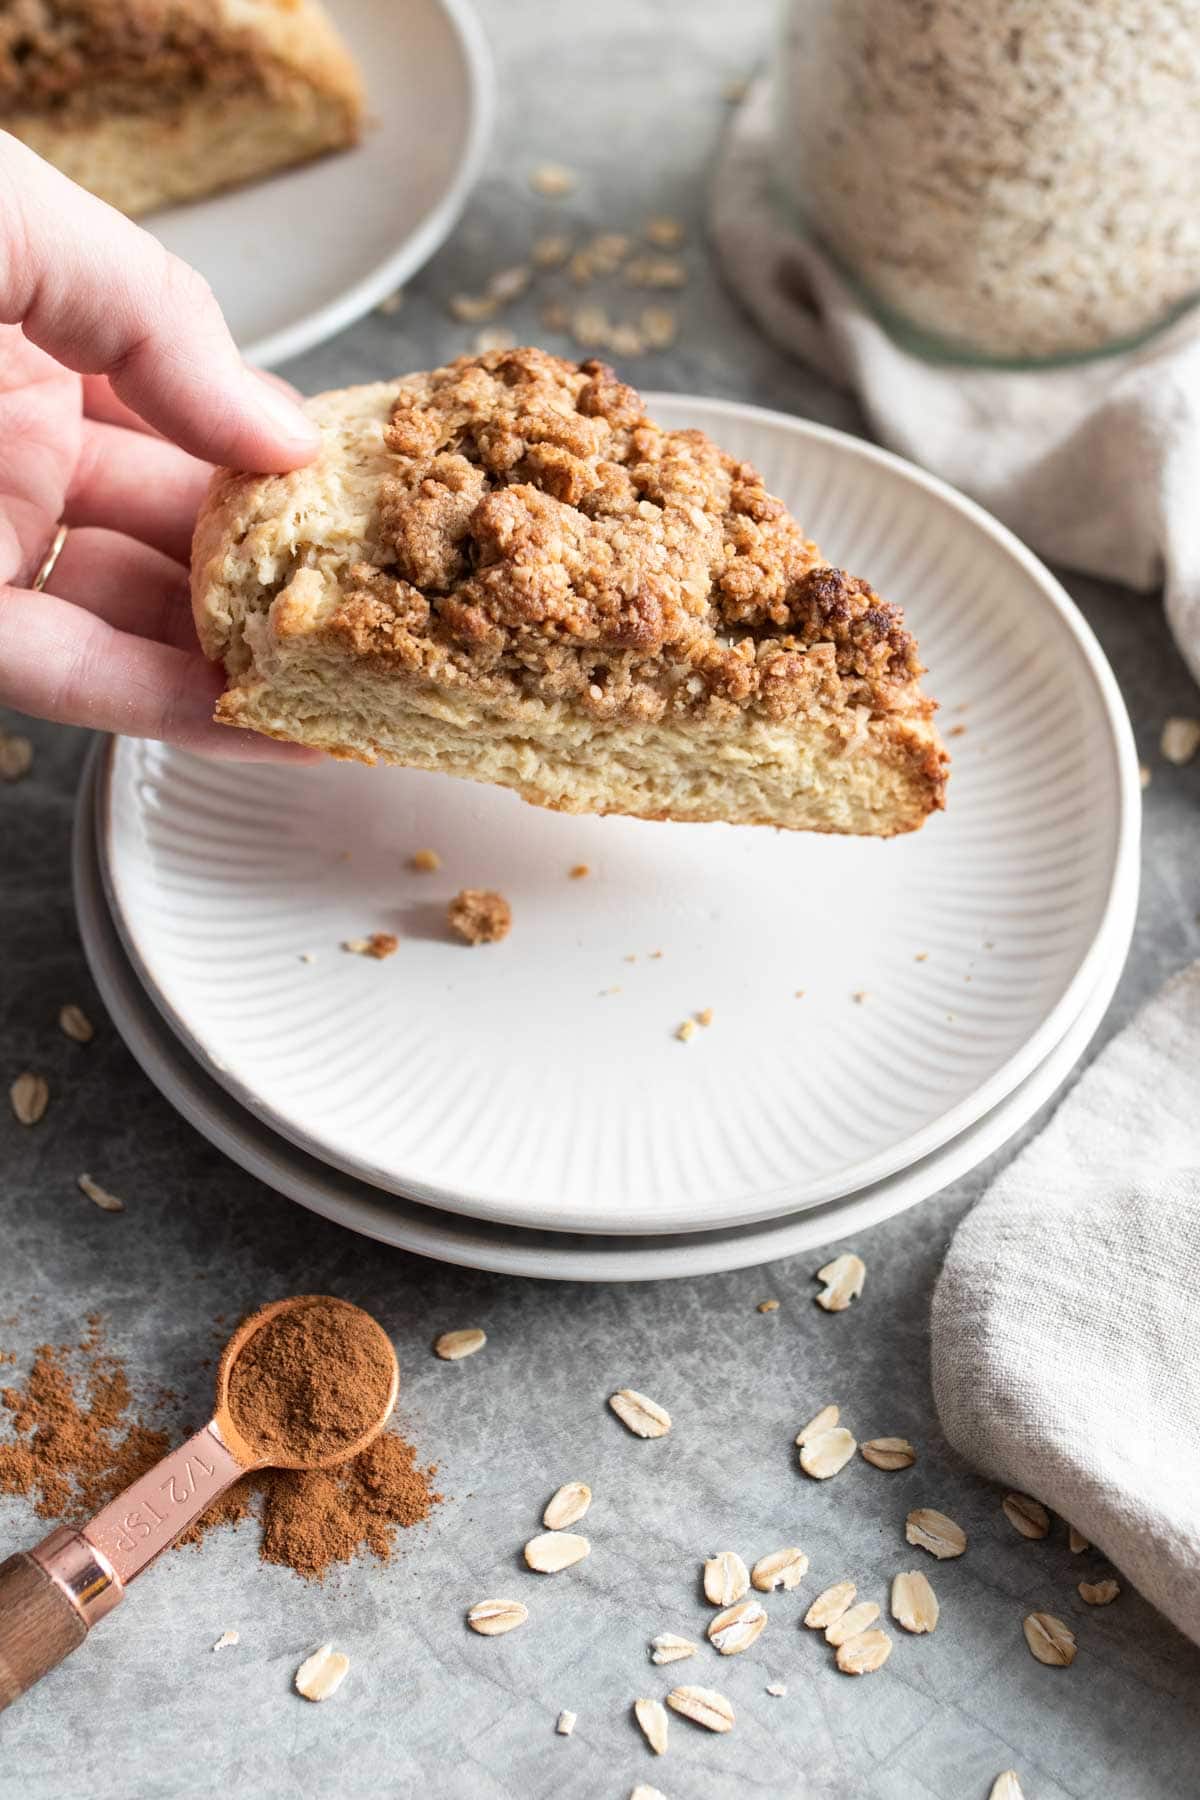
Pair these cinnamon scones with butter, or just serve warm on their own! They are wonderful with cinnamon milk or a rooibos latte.
If planning a brunch spread, I highly recommend pairing with mini quiche or a quiche florentine.
Storage Information
At room temperature - These cinnamon scones keep well for 1-2 days sealed in an airtight container but start to lose their crispy texture on top. It will come back with reheating it in the oven.
Freezing - These freeze incredibly well after they've been baked. I recommend sealing in an airtight container and storing for up to 3 months.
Recipe FAQ
Yes, butter is a great substitute for the shortening. Just use the same amount and make sure it's chilled. Because butter doesn't crumble like cold shortening, cut into small cubes before chilling or grate the butter on a cheese grater!
From room temperature, place on a baking sheet and into the oven. Preheat to 350 degrees F. By the time the oven has warmed up, I find the scones are perfect. You can also cover them in foil if they're a few days old and starting to dry.
If frozen, defrost before reheating, or cover in foil and add about 5-10 minutes at 350F. You may need to uncover the foil the last 2-3 minutes to crisp the cinnamon topping.
Cold shortening or butter will lead to a more dense texture of the scones. Keeping it cold allows it to melt in small pieces throughout the scone while it bakes, creating a lighter, fluffier texture.
Occasionally the cinnamon crumble on top can split, but I promise it still tastes delicious. I find this can happen if you use different types of butter or shortening, or if they're warmer than normal from working too much with your fingers (cold is best).
No, not a common one. It has actually been studied to reduce inflammation and migraine symptoms.
Cinnamon Recipes
If you love these cinnamon scones you'll love these other breakfast recipes!
If you make this, tag me #thedizzycook or @thedizzycook on Facebook and Instagram. And if you love the recipe, please leave a review below! Follow along on my Pinterest for more great recipes.
Cinnamon Scones
Ingredients
Scones
- 2 cups all purpose flour
- ¼ cup oat flour
- 1 tablespoon aluminum free baking powder
- ¼ teaspoon baking soda
- ⅓ cup white sugar
- ½ teaspoon salt
- 6 tablespoons chilled shortening
- ⅓ cup whole milk or oat milk
- 2 teaspoons distilled white vinegar
- 1 cold large egg
- 1 tablespoon vanilla extract
Cinnamon Sugar Topping
- ½ cup shortening
- 1 tablespoon honey
- ¼ cup brown sugar
- ¼ cup turbinado sugar
- ½ cup oat flour
- 1 teaspoon cinnamon
- ½ cup rolled oats
- ⅛ teaspoon salt
Instructions
- Cover a sheet pan with parchment paper or a nonstick mat. In a large bowl, stir together the flour, oat flour, baking powder, baking soda, sugar, and salt. Add in the cold shortening and using a pastry cutter or fork, combine the shortening into the flour mixture until crumbly.
- In a medium bowl, whisk together the milk, white vinegar, egg, and vanilla extract. Pour this into the dry mixture, and stir with a wooden spoon until a dough forms. If the dough appears too dry, you can add a little more oat milk.
- Lightly sprinkle some additional flour over the prepared sheet pan. Place the dough onto the prepared pan, and form into a disc. Don't overwork the dough here, but you can sprinkle on more flour if the dough is too sticky to work with. You want the disc to be about 1 ½ inches thick. Set aside.
- In a medium bowl, stir together the shortening, honey, brown sugar, turbinado sugar, oat flour, cinnamon, oats, and salt. Using a fork or your hands, work in the shortening until crumbs form. Be sure to mix this thoroughly so there's no big lumps of shortening. Pile the crumb topping on top of the scone dough. Press it evenly into the disc, reaching the edges, and creating a fairly even layer. This will make your dough disc a bit thinner- about 1 inch thick. Cover the dough disk with plastic wrap, and chill for 30 minutes.
- While the dough is chilling, preheat your oven to 425 degrees F, and prepare a second pan with parchment paper. Remove the dough from the fridge, and use a knife or bench scrapper to cut the disc into 8 even triangles. Place onto your parchment lined sheet pan, leaving an inch or two between each scone.
- Bake for 14-17 minutes, or until the scones are puffed and golden brown on the edges and top. Let the scones cool on the sheet pan for about 5 minutes, and then use a spatula to move them to a cooling rack. The topping will have bubbled over the sides of the scones- and that’s ok!
Notes
- Use Bob's Red Mill 1:1 flour for gluten free baking and note it may take a little bit longer to bake, typically an extra 5 minutes.
- Oat flour can be store-bought or made by grinding rolled oats in a food processor till it resembles a flour.
- Chill shortening or butter by placing in the freezer for 30 minutes.
- Butter can be used instead of shortening, and working with bars tends to be easier for measurements/keeping it cold.
- For a vegan option, use a flax or chia egg and replace the honey with maple syrup.
- Play with the dough mixture a little bit - you may need to add a little more flour or milk depending on the humidity that day depending on if it's too dry or too sticky. Use the pictures for a representation of how it should look.
- The cinnamon sugar topping may fall off the edges a little bit when baking and that's normal.



So tasty! The flavor and texture were as described.
I was concerned about the cultured buttermilk with the milk and vinegar, so I didn't let it rest at all. Sure enough, migraine symptoms arrived shortly after eating one. I used whole milk. Maybe the fermentation doesn't happen with oat milk?
Hey Laura - the milk and the vinegar isn't cultured like you'd get in a store so I rarely see it be an issue. I would say that if you're eating these alone without a protein it could've been a blood sugar trigger or something else.
These are fantastic!!! I had some pumpkin flavored honey so I used that and then added a little pumpkin pie spice to the topping. It’s the perfect fall treat!
Yay thanks Allison!!
So good!!
The recipe above says one tablespoon of baking powder. My wife who was making the recipe though that she though this amount would be off, and that you probably meant one teaspoon....?
It is a tablespoon. I recommend using aluminum free baking powder.
THESE ARE AMAZING!!!
Do you know of any dairy free butters that do NOT have natural flavorings? I used to use Earth Balance for a dairy free butter but it has natural flavorings. By the way, I just bought your book and am excited to try out some new recipes! Your website and book are VERY helpful.
Hey Carrie - unfortunately I do not. If can tolerate ghee, that's my only suggestion. I will say Earth Balance seems to be the best tolerated by my friends who just can't have anything else. I hope you love the book!! Remember if you need help adapting some of the recipes there's a Dizzy Cook Recipe Chat on Facebook.
Hey have you found a shortening that is not made from soybean oil? Or could I use butter instead?
Yes, Spectrum and Nutiva are typically what I use, but you can also use butter.