This post may contain affiliate links. Please see our disclosure policy.
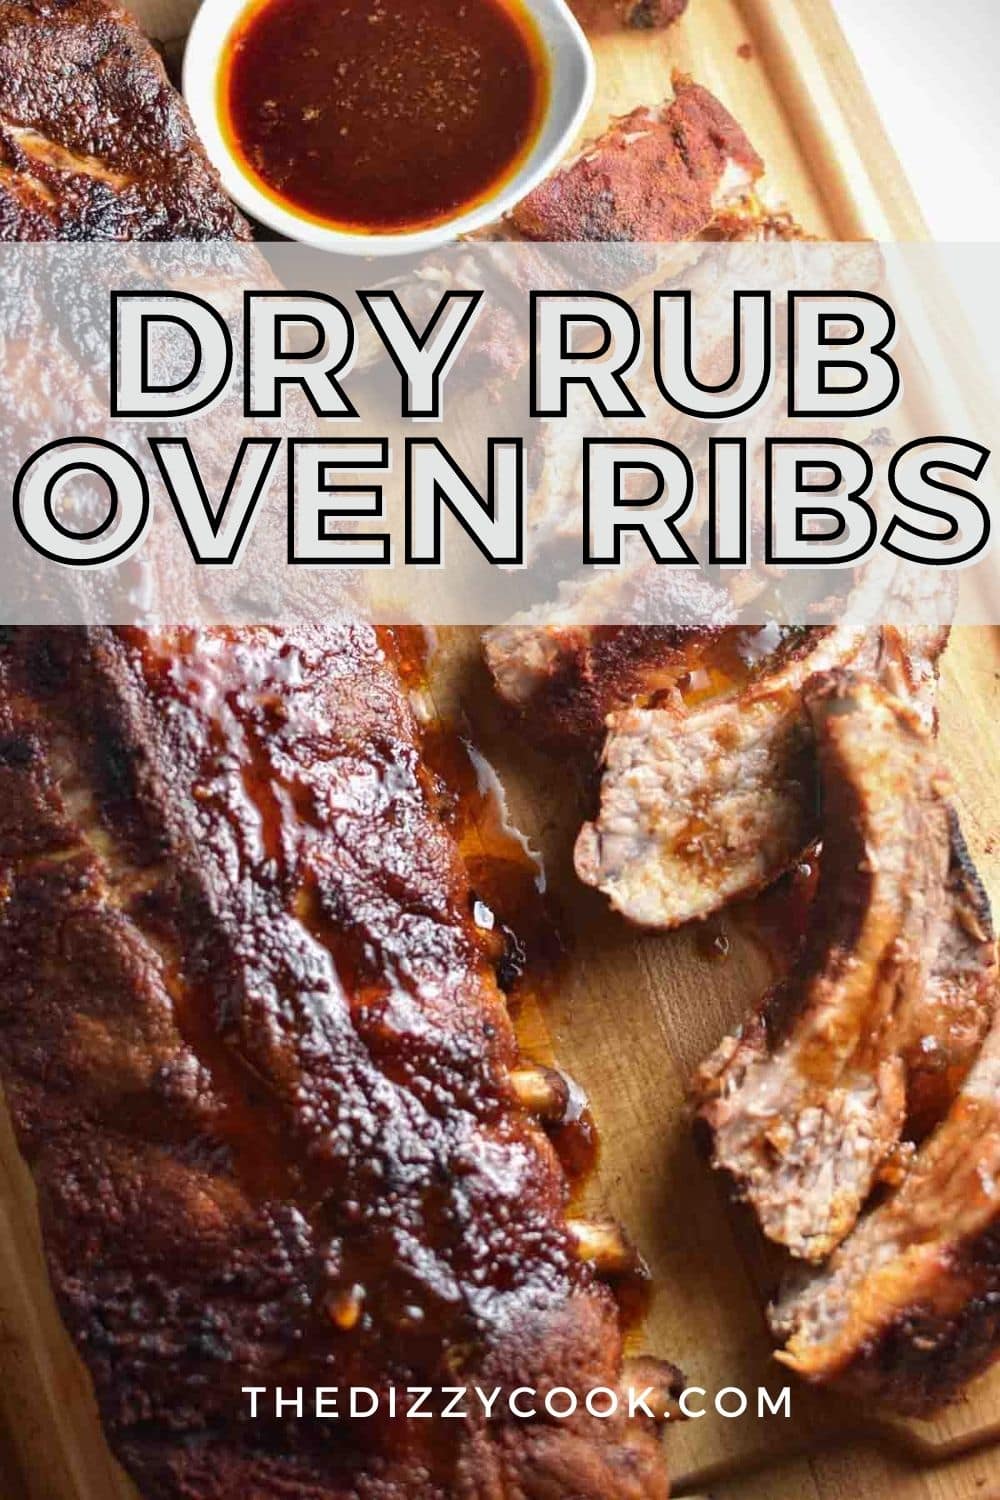
This is the best recipe for baby back ribs in the oven! This recipe gets rave reviews from readers every summer for the easy dry rub, which uses a simple mixture of spices and brown sugar for the most flavorful, oven-baked ribs. No bbq sauce needed!
A Quick Look: Baby Back Ribs in the Oven
- Prep time: Only 10 minutes total to prep the dry rub and wrap the ribs! The cook time will range from 2.5 to 3 hours.
- Servings: Plan on 1 pound of ribs per person, so a 4-5 pound rack of ribs will serve at least 4 adults.
- Main ingredients: Dry rub (with chili powder, garlic powder, and paprika) and baby back ribs.
- When to serve: Summer BBQ’s, potlucks, 4th of July, labor day weekend – whenever you feel like a barbecue dinner!
- Dietary information: This recipe is automatically gluten free and dairy free. It is also HYH diet compliant.
- Why you’ll love it: These oven baked baby back ribs are super easy to make with a quick dry rub and great for beginner cooks. They serve a crowd and the recipe is foolproof, producing tender, flavorful ribs. You also don’t need the perfect weather or a grill for these – just your oven!
These dry rub oven ribs are easy for all types of cooks because most of the cooking time is all hands off. They’re so flavorful you don’t need BBQ sauce! Serve it with crockpot mac and cheese and blueberry iced tea for the ultimate summer holiday meal.
Table of Contents
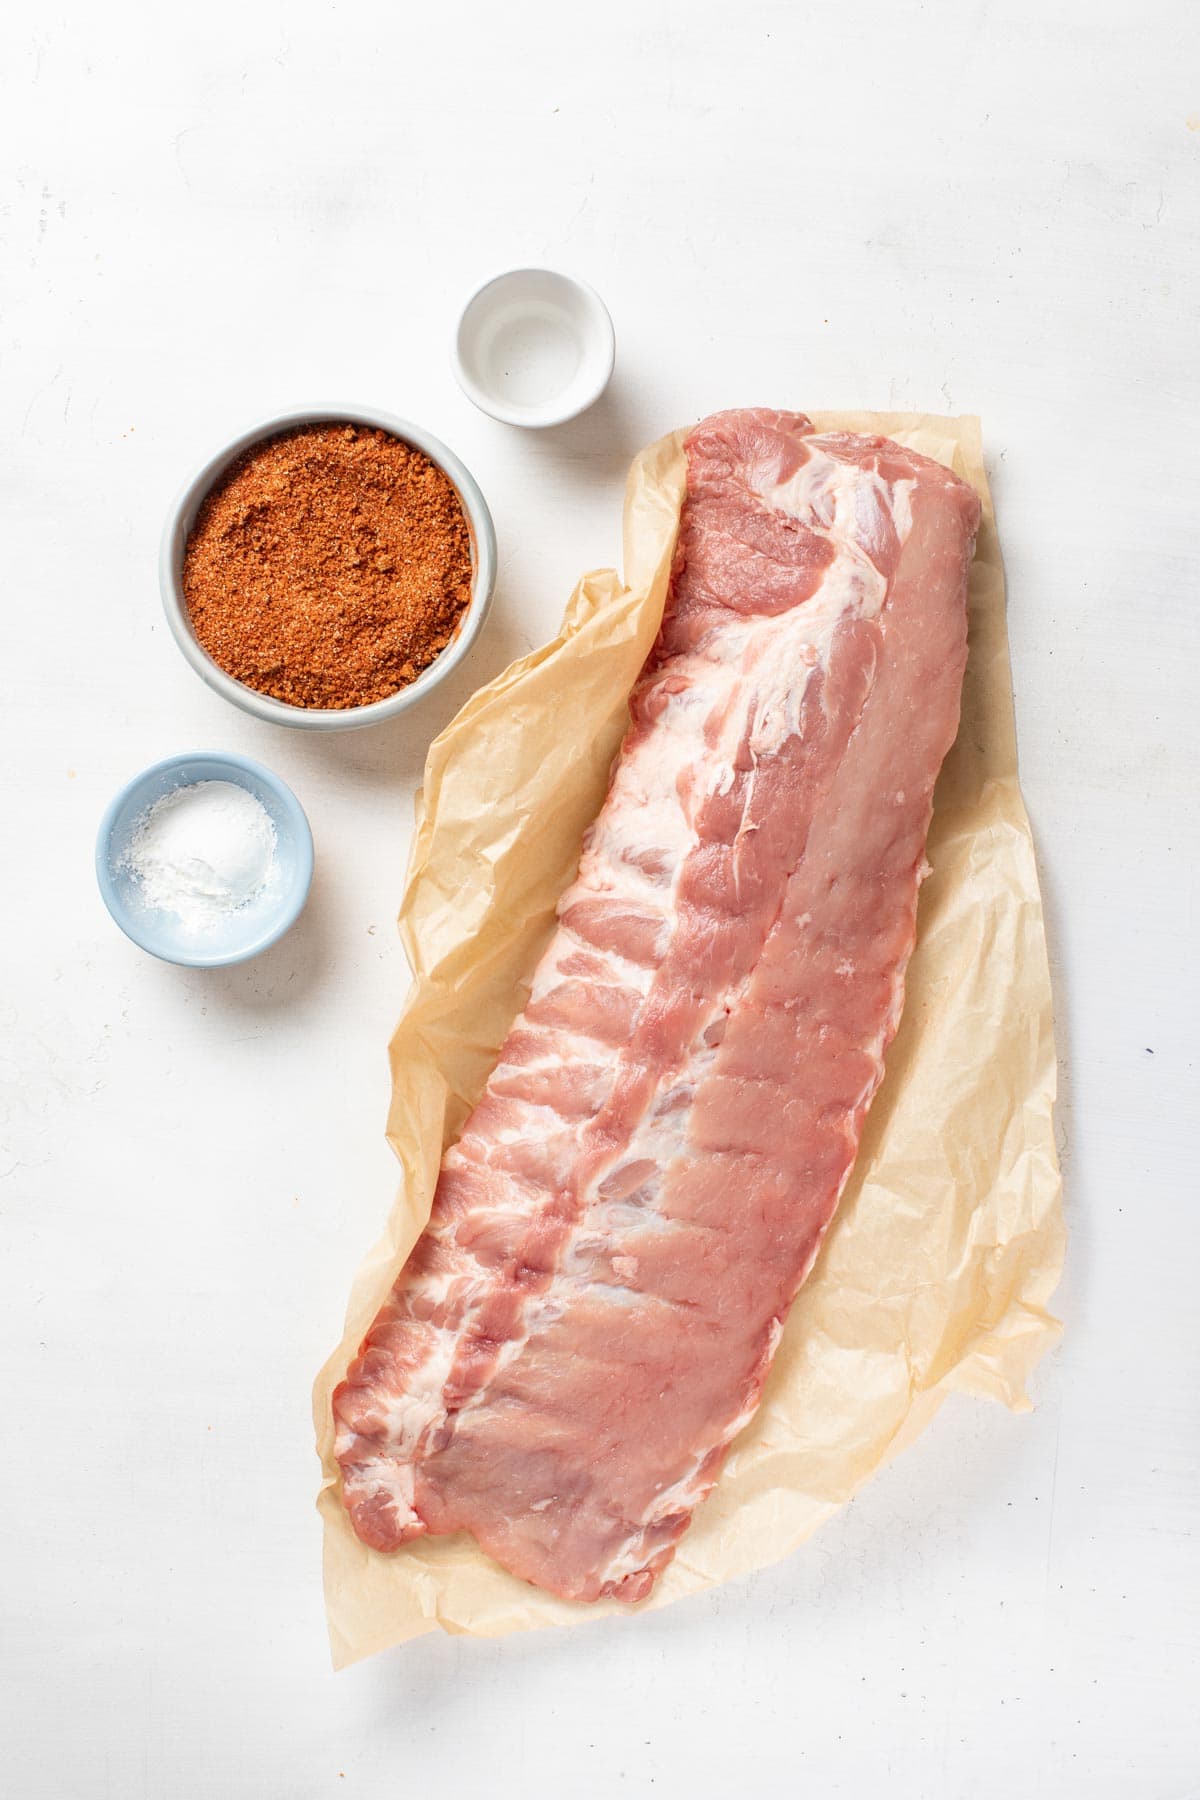
Ingredients
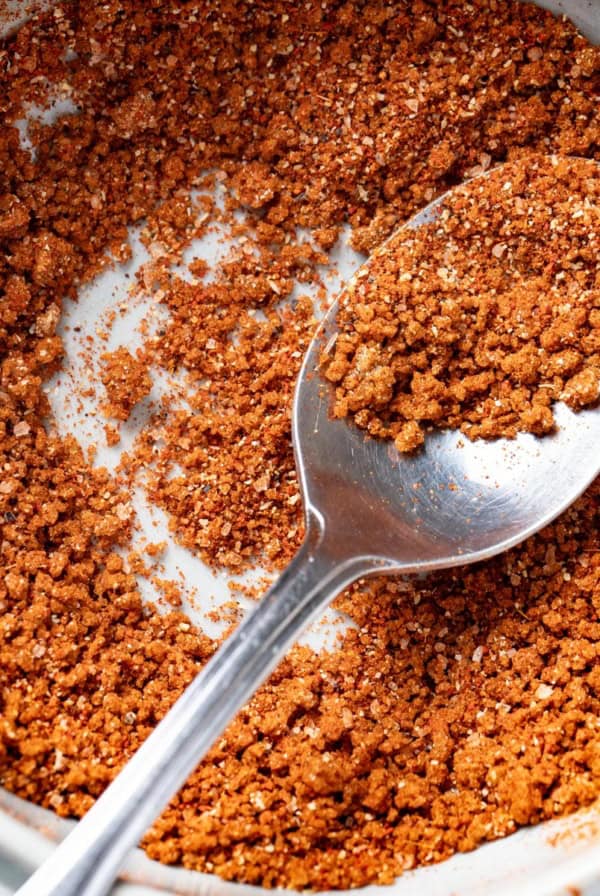
This is one of my favorite dry rub rib recipes because it doesn’t require a ton of different ingredients. Besides salt and pepper, here are some of my tips for choosing the right spices and a good rack of baby back ribs.
- Chili Powder – My favorite chili powder is from Morton and Bassett, which uses a really basic blend without any cocoa powder. It’s also salt-free for those following a low sodium diet.
- Brown Sugar – Brown sugar is essential to adding a hint of sweetness, especially when the dry rub transforms into a bbq sauce while the ribs are in the oven.
- Garlic Powder – Unless you have a chili powder with a lot of garlic in it, the extra garlic powder adds so much flavor.
- Paprika – I love to use a combination of smoked paprika and regular paprika. The smoked paprika makes these ribs taste like they’re hot off the grill without the effort, but it’s not overpowering when you mix the two.
- Kosher salt – This is super important! I used Diamond Brand Kosher Salt for this recipe which is much less salty tasting than Morton’s because of the salt crystal. Therefore, if you use Morton’s or another type of salt, either decrease the added salt by about half or taste and adjust as needed once the ribs are finished cooking.
- Baby back ribs – Also known as loin ribs or back ribs, these are a leaner style of ribs that have a little more meat and less fat – which I think makes them better overall. With low heat cooking, they’re extremely tender. Typically they are trimmed of a thick, shiny membrane on the back of the ribs, but if not, you can ask your butcher do it for you, or remove the membrane from the ribs yourself. This technique will result in more tender and flavorful ribs, which are easier to eat!
Recipe Tip
When picking baby back ribs, look for a good amount of meat coverage on the bones, and a very thin marbling of white fat. It can also be helpful to look out for “shiners” which is the bones sticking out of meat along the surface of the rib. This means the butcher cut the rack closely and they can fall off the rack more easily while baking.
Recipe Substitutions
These baby back oven ribs are already gluten free and dairy free, so they work well with lots of diets.
- Honey for brown sugar – If you have an issue with brown sugar, I’ve tried this with honey and it was also really good. The trick is to mix the spices all together and apply them to the meat, then drizzle the honey on top. If you try to mix the spices with the honey and then apply it, everything will clump together. Once it all warms in the oven, it’s not an issue.
- Maple syrup for brown sugar – Maple syrup is also a great substitute and you don’t have to worry about that one clumping.
- For low sodium, you can control the amount of salt you add. I like to start with a tablespoon of Diamond kosher salt, but the spices are so flavorful you don’t need too much.
- St. Louis style ribs – These can be substituted for baby back ribs easily, and they are typically less expensive. St. Louis-style ribs are spare ribs that have been trimmed, making them cook more evenly. They tend to be larger than baby back ribs and have a little more fat. They’re not as curved and lay more flat, which makes them ideal for grilling.
How to Make Baby Back Ribs in the Oven
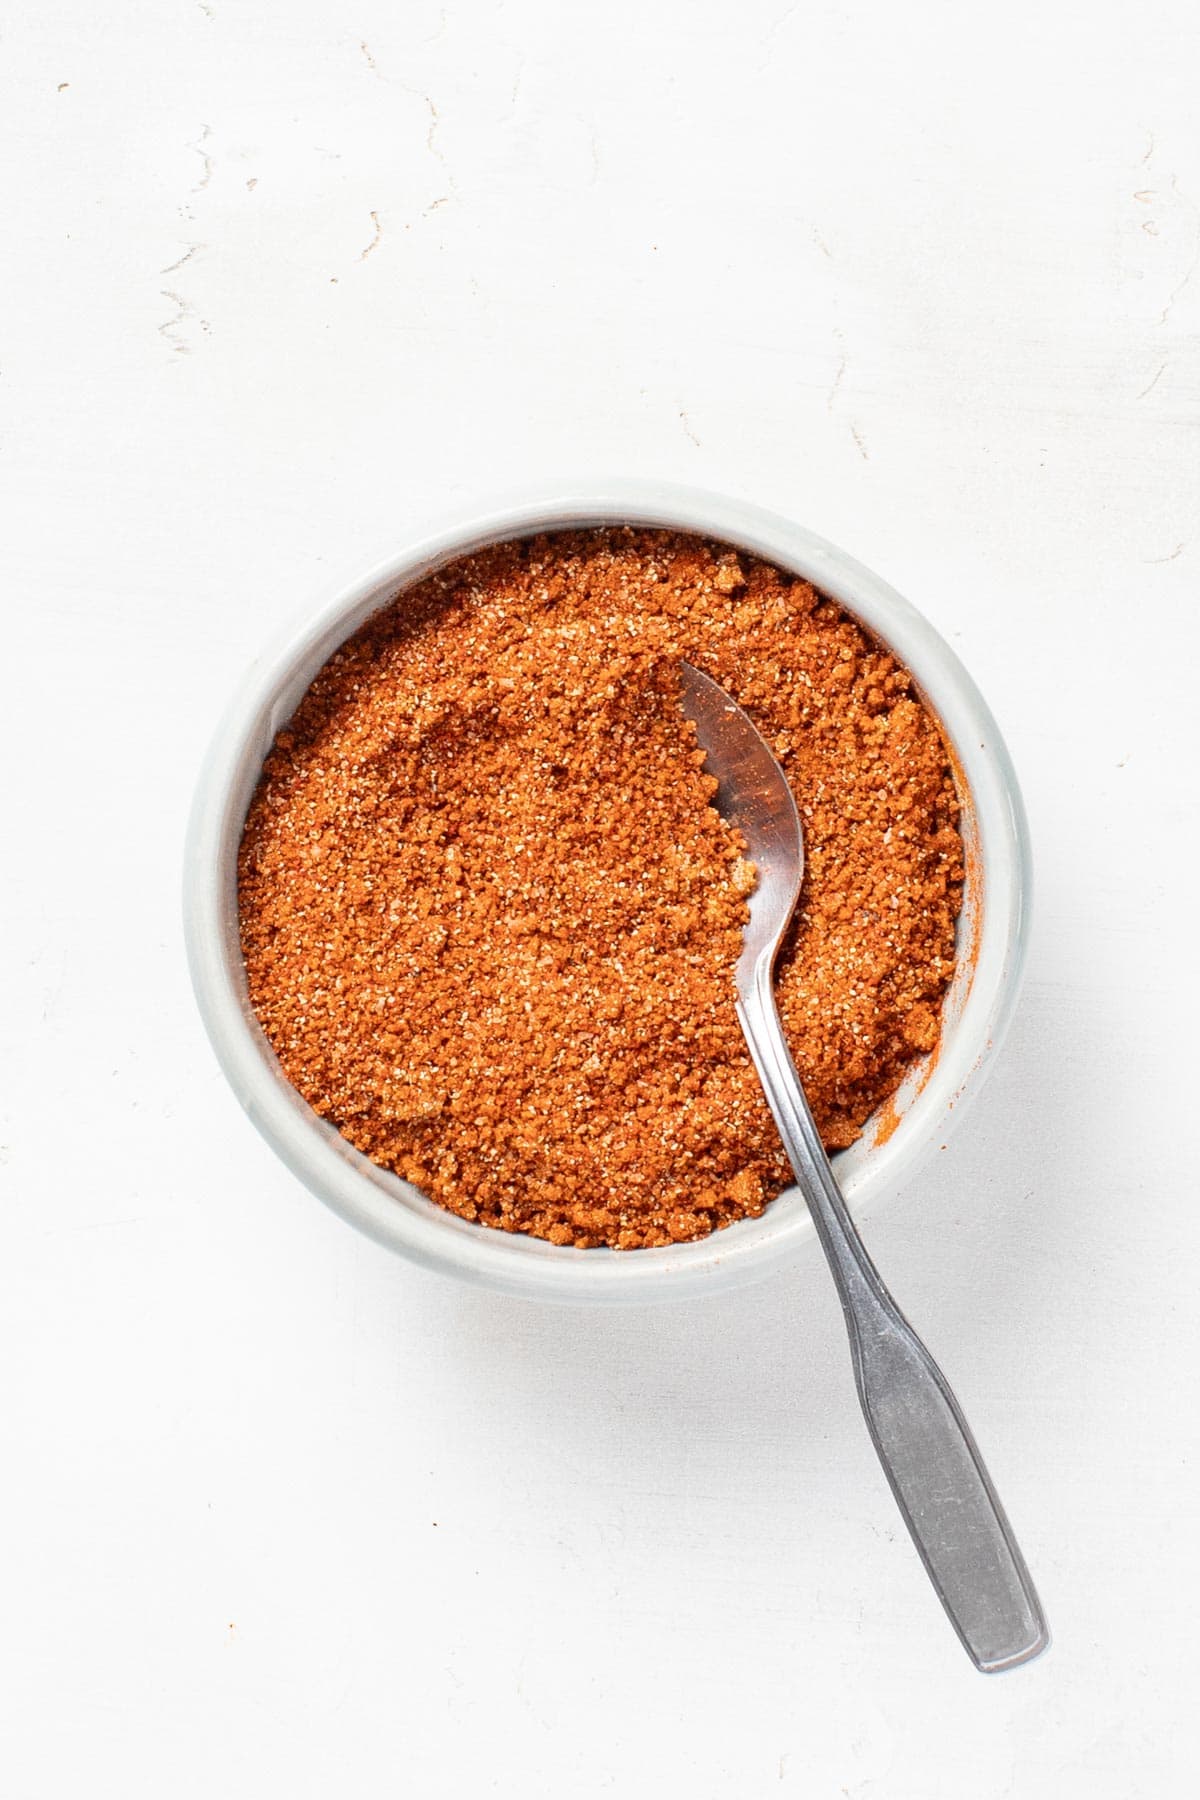
Step 1: Preheat the oven to 300°F or 150°C. Start by removing any excess membrane on the back of the ribs, or have the butcher do it for you. Pat them dry with a paper towel. Prepare a tin foil piece that’s just as long as your rack of ribs and lay them on top. Combine all the spices for the dry rub in a bowl and stir to combine.

Step 2: Pat the dry rub on the meaty side of the rack. Then flip and rub the mixture on the back side of the ribs.
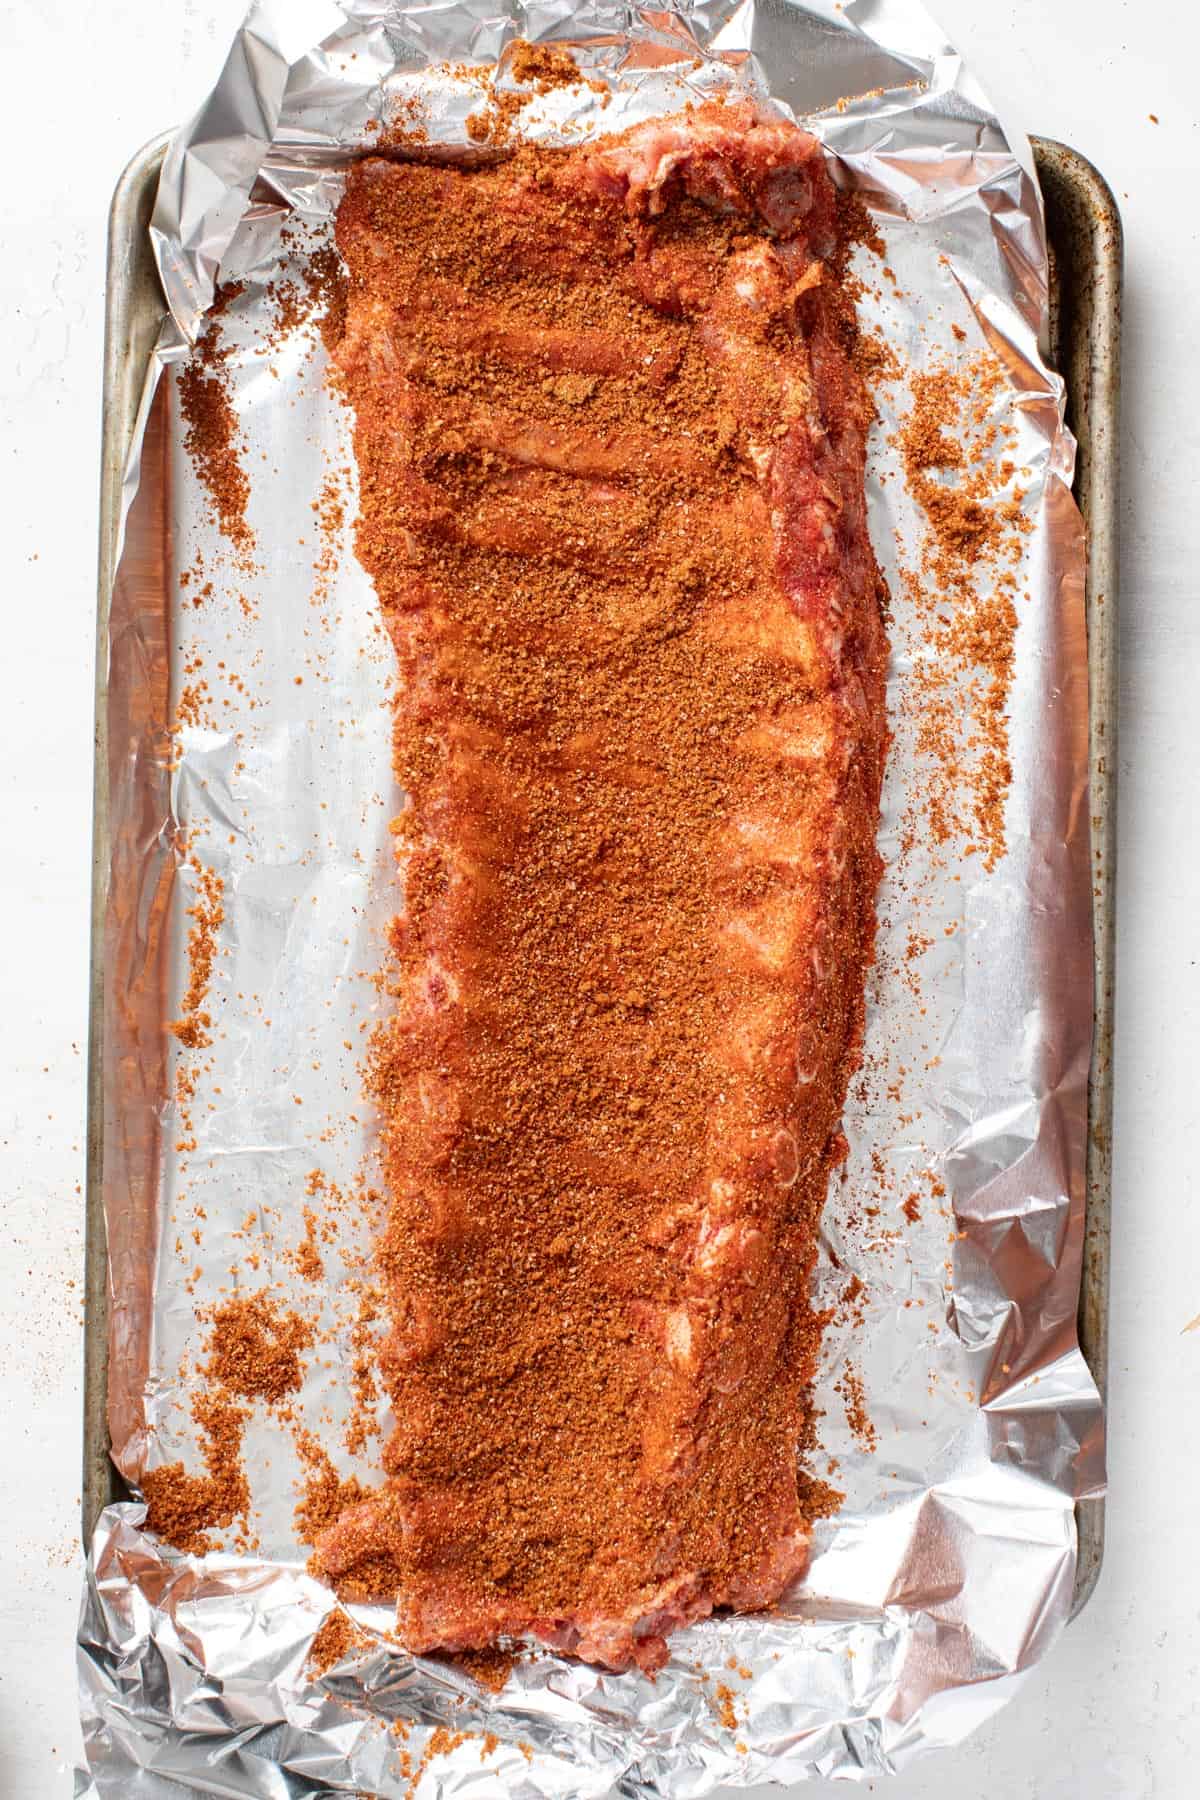
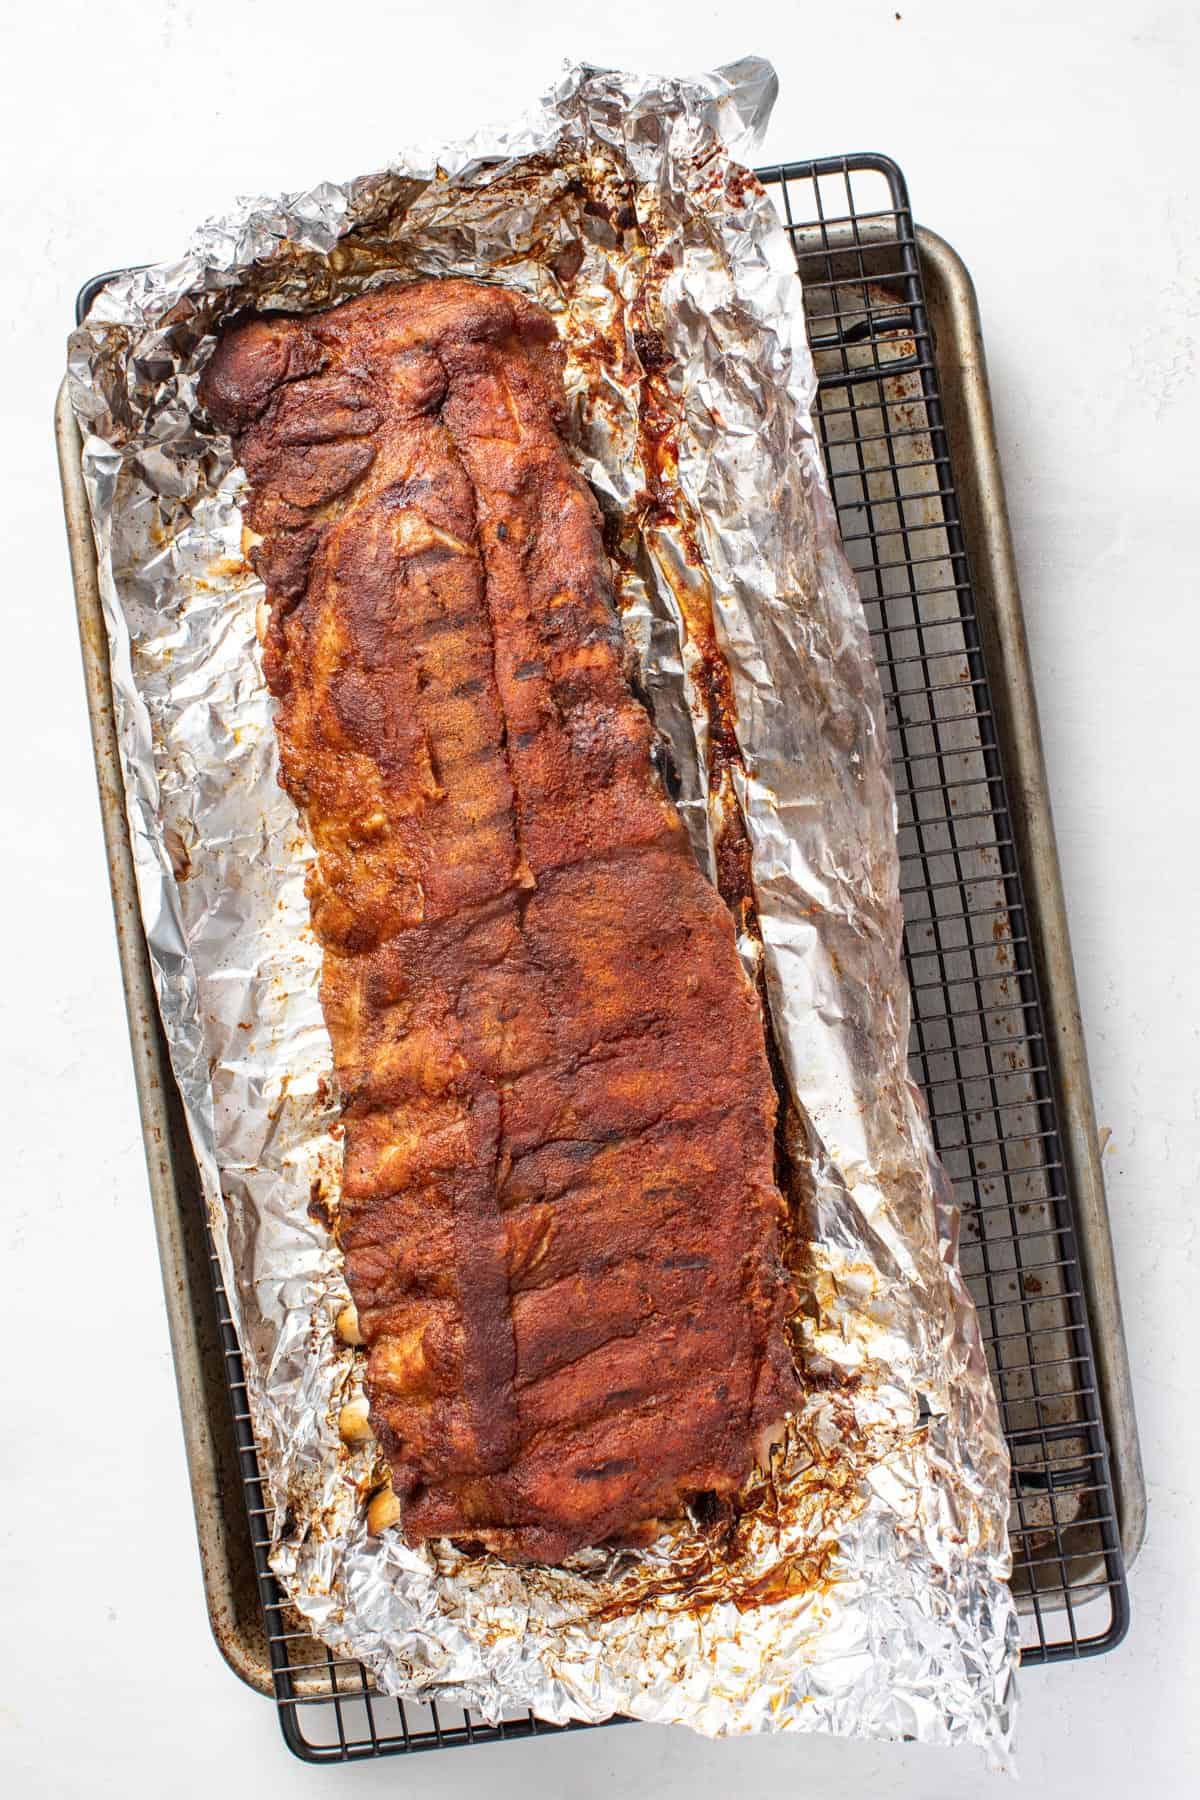
Step 3: Curl the tin foil up around the baby back ribs as much as you can on all sides, you need the juices to stay inside the foil. You will most likely need to lay an extra sheet of tin foil on the top and wrap it around snugly. Place your tin foil-wrapped rib rack on an oven-safe rack over a sheet pan. You can also place foil underneath the rack for easy clean up in case any juices leak.

Step 4: Bake in the oven at 300°F/150°C for 2.5-3 hours or until the ribs reach an internal temperature of 145°F. I find these baby back ribs to be pretty forgiving – they don’t get dried out unless you leave them in a really long time! A smaller rack will be on the shorter end and if they’re thick and meaty, I tend to go 3 or 3 1/2 hours.
Step 5: Broiling the ribs is optional, but here’s how to do it. While you make the BBQ sauce, turn the oven broiler on high. Place the ribs, meaty side up, about 6-10 inches away from the heat. Leave them for about 10 minutes, rotating the pan every so often so they are darkened evenly.
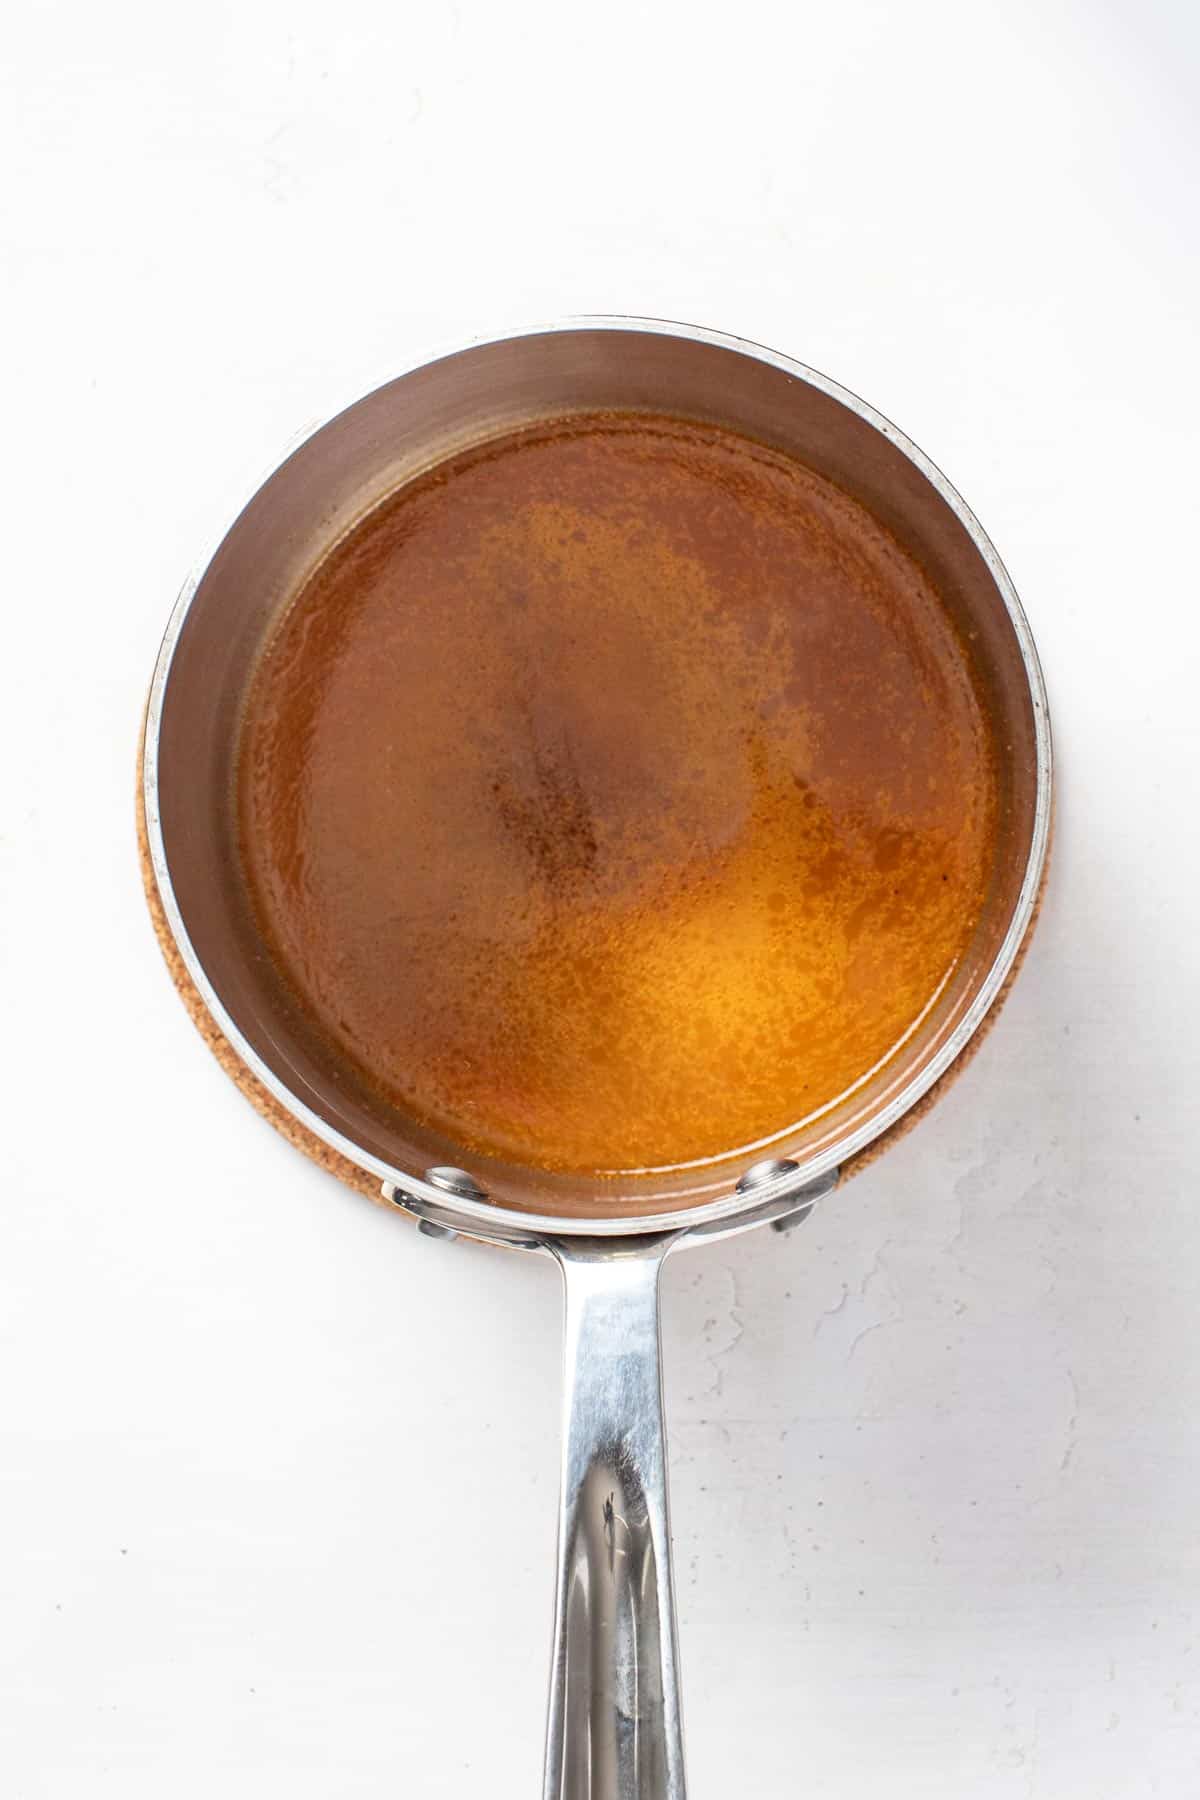
Step 6: This is also an option if you want to make a homemade bbq sauce! Remove the rack of ribs carefully, reserving the juices that accumulate in the tin foil. Transfer the juices to a small pot and whisk in 1-3 teaspoons of cornstarch to help it thicken while reducing the sauce over medium heat. Give it a few minutes to thicken (it will also thicken more as it cools).
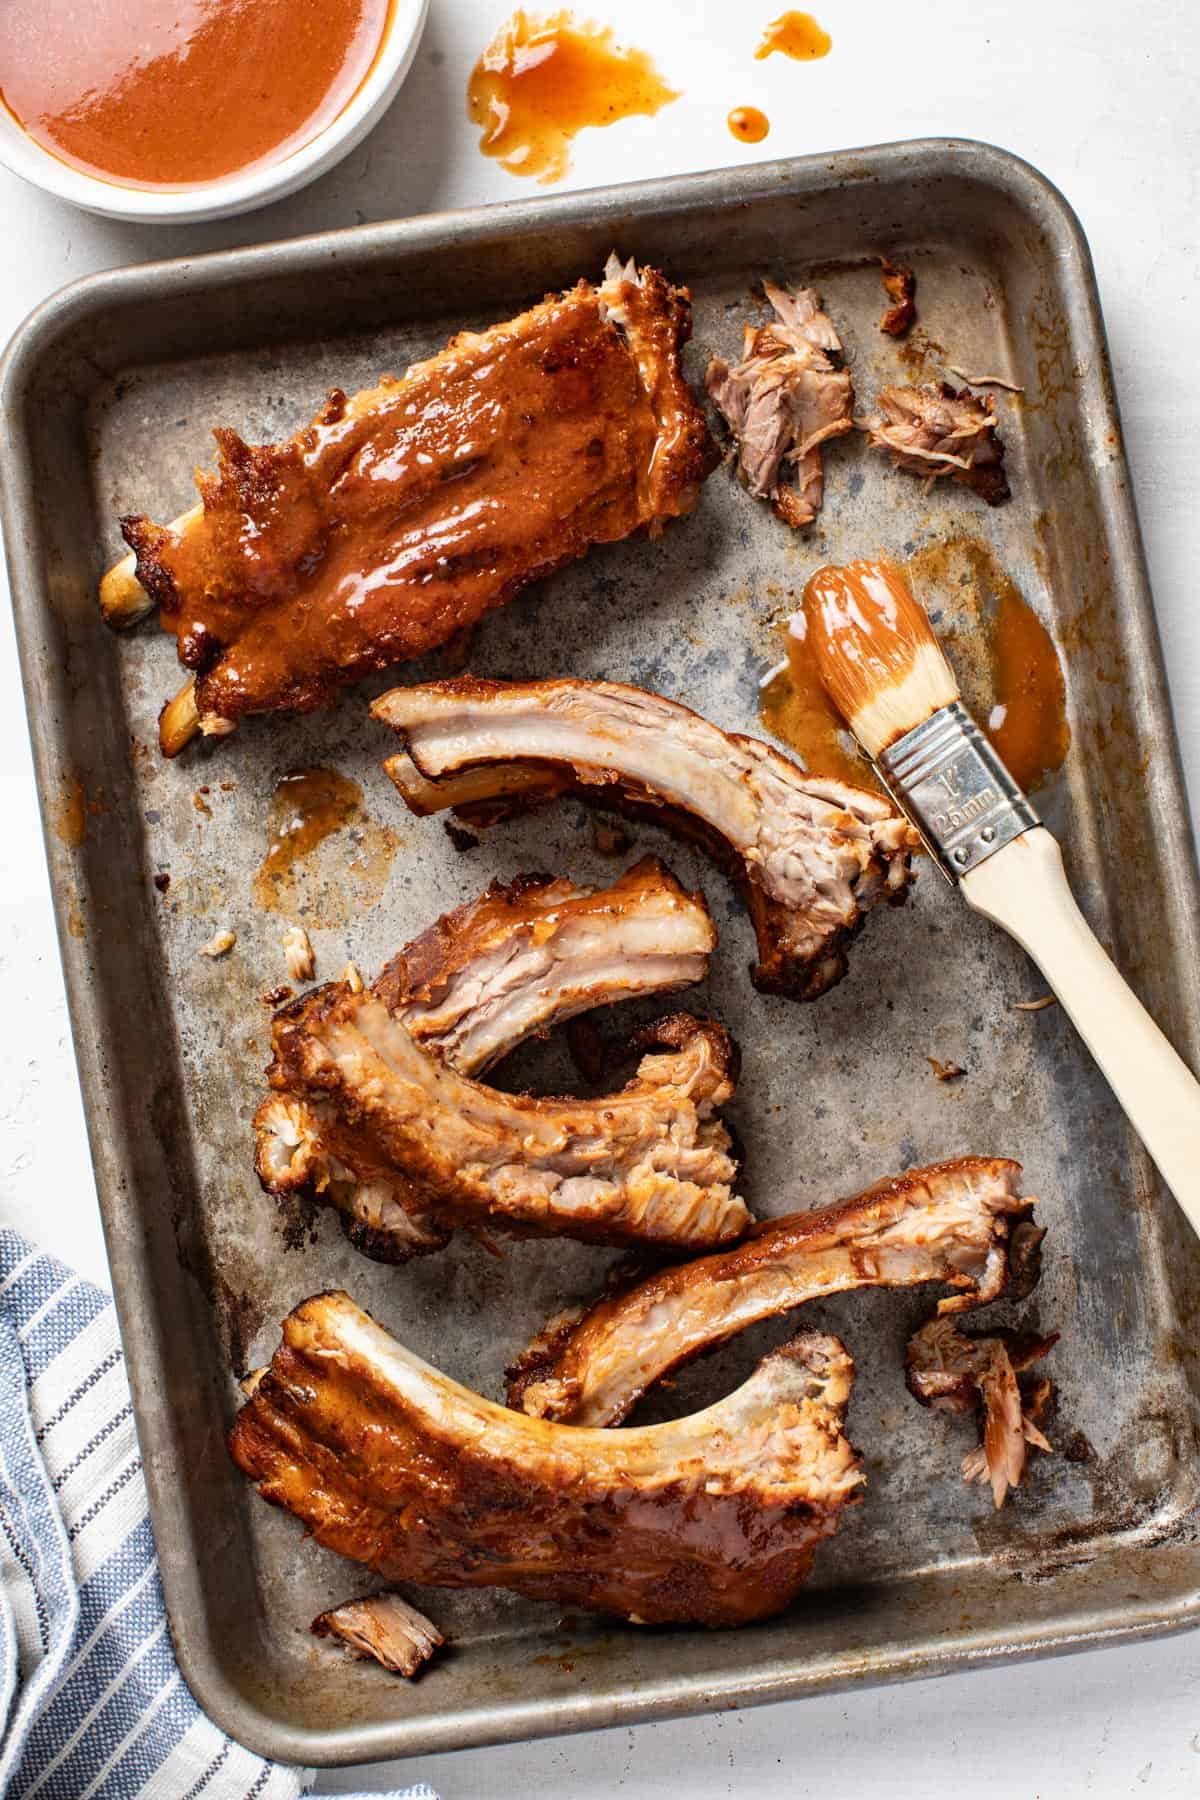
Step 7: To slice the ribs, place them meat side down so you can clearly see where the bones are, making for easy cutting.

Serving Suggestions
There’s not much else that goes better with oven baked ribs than these sides! My favorites are the coleslaw, mac and cheese, and cucumber salad.
- Apple coleslaw
- Mac and cheese with cream cheese
- Bibb lettuce salad
- Gluten free ranch dressing
- Peach watermelon salad
- Chickpea pasta salad
- Mediterranean cucumber salad

Storage and Reheating
- Storing the dry rub – The dry rub for ribs can be stored in a cool, dry place for up to 2 weeks and used as needed. Once the dry rub has been applied to the ribs, I’ll wrap in foil and place in the refrigerator until I’m ready to bake them. This can be done a few hours before. Often I will prep the ribs in the morning and put them in the oven about 2-3pm for dinner around 5-6pm.
- Storing the ribs – Once cooked, the ribs can be stored in the fridge for up to 3 days or frozen for up to 6 months.
- Reheating ribs – To reheat, I’ll cover them and warm them in the oven at 325 degrees Fahrenheit for about 10-15 minutes, or until warmed through.
Recipe FAQ
I have experimented several ways and I prefer 300 degrees Fahrenheit because they are almost always done by 3 hours, no matter the size of my ribs. You can also cook the ribs around 250 for a “low and slow” method, but anticipate them taking closer to 5 hours. Any higher than 350 degrees and the ribs are cooking too fast to get that fall-off-the-bone texture we’re looking for.
Yes! Wrapping baby back ribs in foil when baking will allow them to cook in their own juices, leaving them tender and not dried out. Once they’re done baking, you can choose to grill them or broil them for extra flavor.
I prefer baby back ribs for this oven ribs recipe because the way it’s cooked makes it tender and flavorful without the extra fat that St. Louis ribs have. I also like that most baby back racks have the thin membrane already removed. St Louis ribs tend to be better on the grill because they’re flatter and have a more even, versus curved, surface. However, both will work for this recipe!
More Indoor BBQ Recipes


Slow Cooker
Slow Cooker Pork Shoulder (Crockpot Pulled Pork)

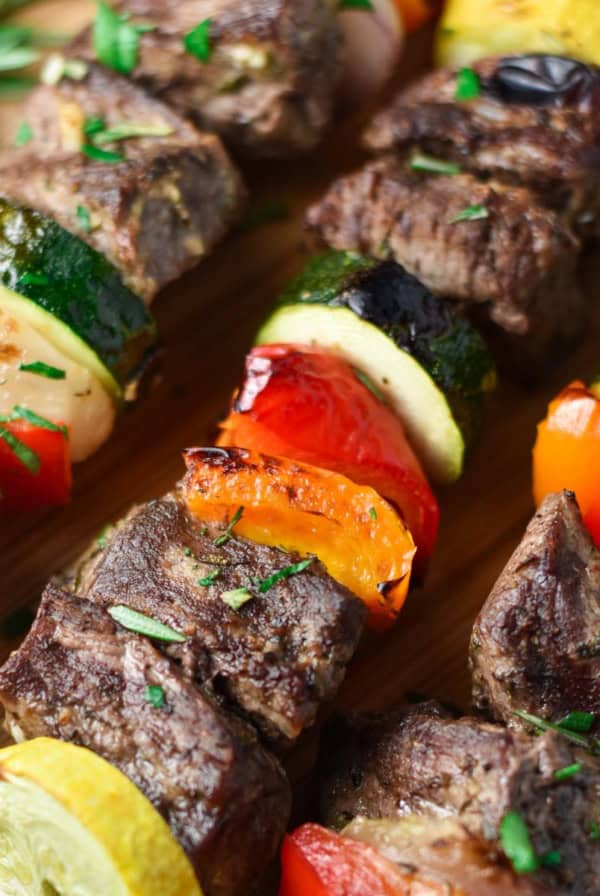
Beef
Beef Kabobs in the Oven
Love this recipe? Please leave a 5-star 🌟🌟🌟🌟🌟 review in the recipe card! Don’t forget to tag me @thedizzycook on Facebook and Instagram, and follow along on Pinterest for more great recipes!
Baked Baby Back Ribs with Dry Rub
Ingredients
- 1/3 cup brown sugar
- 1 tablespoon paprika
- 1 tablespoon smoked paprika
- 1½ tablespoons chili powder
- 2 teaspoons garlic powder
- 1 tablespoons kosher salt, Diamond Kosher brand recommended
- 1-2 teaspoons fresh ground pepper
- 4-5 pounds baby back rib rack, membrane removed* (or 2 smaller racks around 2.5 pounds that equal roughly the same weight), *see notes in post
Homemade BBQ Sauce (optional)
- 1-2 teaspoons distilled white vinegar (for sauce)
- 1 tablespoon cornstarch
Instructions
- Preheat oven to 300℉/150℃. Cut a large, long piece (the length of your rib rack plus a few inches) of tin foil. Place the ribs, meaty side up. Combine your dry rub spice mixture together and pat half the mixture all over the rib rack, coating it as best you can. Carefully flip the rib rack so the meaty side is down and apply the other half of the mixture.
- Fold your tin foil inward on all sides to seal the meat as best you can. Cut another piece of tin foil and apply it on the top of the rack, sealing it underneath the rack. Make sure there are no holes, otherwise all the good juices will leak out!
- Place on a baking sheet with a wire rack over it, if possible. Cook in the oven at 300℉ for 2.5 to 3 hours. Baby back ribs cook a little faster than St Louis style. If you're not ready to serve, turn the heat down to 175 degrees F and keep them warm till ready.
- Remove the rack from the oven and CAREFULLY remove the tin foil from the top (it will be hot!). Then slide the ribs out from the lower foil packet with all the juices and place on a cutting board, meat side down. This way you can see the bones for easy cutting. A cutting board with a little "moat" works best, since they will be juicy. Carefully pour the leftover juices from the foil into a small saucepan.
Homemade BBQ Sauce (with leftover juices)
- Heat the juices, along with the 1-2 teaspoons of white vinegar, over medium high heat until boiling. Whisk in the cornstarch till it's no longer clumpy and then turn the heat down to a low simmer. You can do this one teaspoon at a time until desired thickness is reached. Allow the sauce to simmer about 5-7 minutes, stirring frequently.
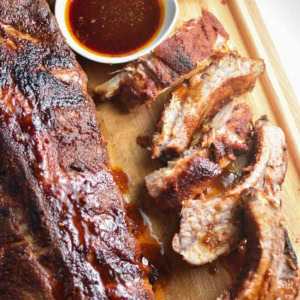
- Cut the ribs, sometimes this is easiest done when flipped over with the meaty side down.
- Apply as much of the sauce as you'd like to the ribs and enjoy!
Notes
- Chili powder – I used Morton and Basset Chili Powder, but do NOT use “chipotle” or “ancho” chili powders as they are not the same and you may have very spicy results.
- Diamond Kosher Salt – This kosher salt allows you to properly season the meat without it being overly salty, due to the shape of the crystals. If using Morton’s or another brand, you may want to reduce the amount of salt added.
- A note on ribs – Both St. Louis and baby back ribs will work for this recipe, but I prefer baby back. Make sure you ask your butcher to remove the membrane on the back for more flavorful, tender ribs.
- This rub covers about 1 full size rack of ribs that is 4-5 pounds or 2 smaller racks that are less weight. The spice mix can easily be doubled for 2 racks. Plan on about 1 pound of ribs per adult.
- If you’d like to substitute honey for the brown sugar, make sure you evenly drizzle on top of the rack after you have applied the spices. Honey will not coat the meat well if it’s any bit cold.
- For low sodium, adjust the added kosher salt as needed and look into chili powders without added salt, like Morton and Bassett.
Nutrition
Nutrition information is automatically calculated, so should only be used as an approximation.


These ribs are delicious and the rub is so much better than anything you can buy in the store.
My daughter is just starting out with the HYH diet, and I would love to try these ribs. However, I’m wondering about the smoked paprika. Is that not an ingredient that I should avoid? I thought smoked foods weren’t a good idea.
Alicia, I cannot tell you how many times Brian and I have made these ribs and brought them to potlucks! They are SO tender, fall off the bone, etc.
Ribs came beautiful, I am not a lover of smoked so did remove the smoked paprika and added powder onion instead to the dry rub. for the bbq sauce I also added cayenne pepper, maple syrup and honey (small portions) I know I changed some of the recipe but very happy with the end result – what I really liked were the simple ingredients and great directions for a very delicious end result.
Thank you so much, Nora! Glad you all enjoyed it!
Hi Alicia
Do you have a recipe for baby back ribs without the red spices…..?
Hey Robi – I don’t but I think this would be tricky to get the same flavor. Do you have a spice rub you normally use? You could sub it here if you already do.