This Pan Seared Sea Bass is a simple and healthy recipe with that perfect seared, golden crust. Paired with a light shallot butter sauce, it's an elegant dinner in under 20 minutes with only one pan!
A simple seared Chilean sea bass is a great recipe for dinner parties, holidays, or dinner for two. It pairs well with Boursin mashed potatoes or Mashed Cauliflower for a low carb alternative.
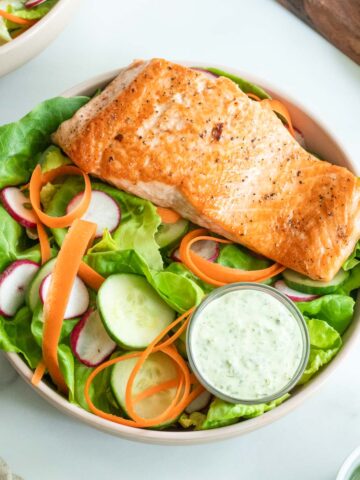
If you love this pan seared sea bass, give my Seared Salmon Salad or Baked Halibut recipes a try.
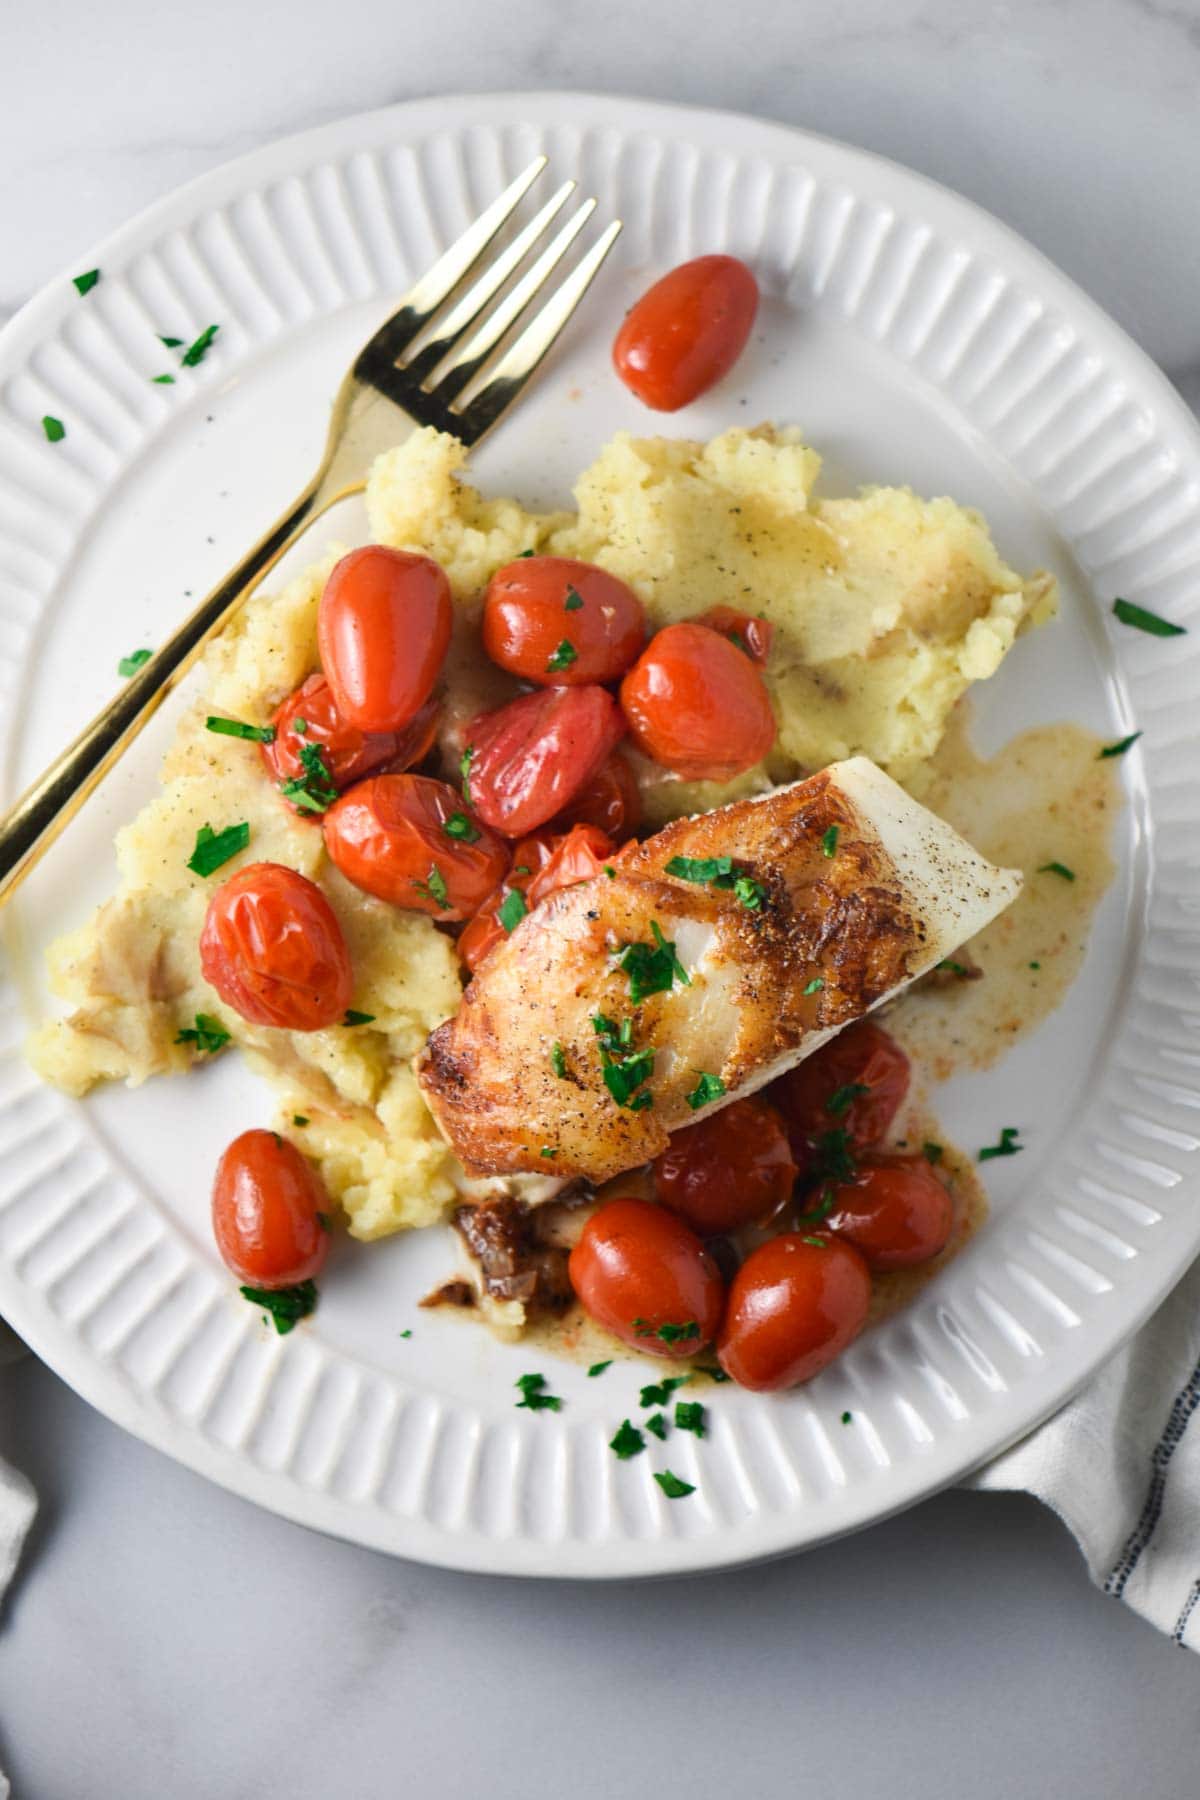
Seared Chilean Sea Bass
Seared fish is one of my favorite recipes to serve for holidays or company because it's very simple to make and takes little time. A sea bass recipe like this will pair well with so many different side dishes! You'll love this recipe because:
- Easy - My step by step instructions make pan searing fish simple!
- Under 30 minutes - Sea bass is perfect for date nights, holidays, or a lovely dinner at home.
- Works well with other fish - The basic principles of searing can be transferred to other kinds of fish.
- Brain food - While not as high as salmon, sea bass still contains omega-3's to boost brain health.
- Special diet friendly - This seared sea bass works for gluten free and low sodium diets.
Jump to:
What Does Sea Bass Taste Like?
Chilean sea bass is actually called a "Toothfish" but had quite the re-branding to make it into a fine dining staple. Many people like it because it's an extremely mild fish. The taste is not very "fishy" at all, but smooth and buttery with a little bit of umami flavor.
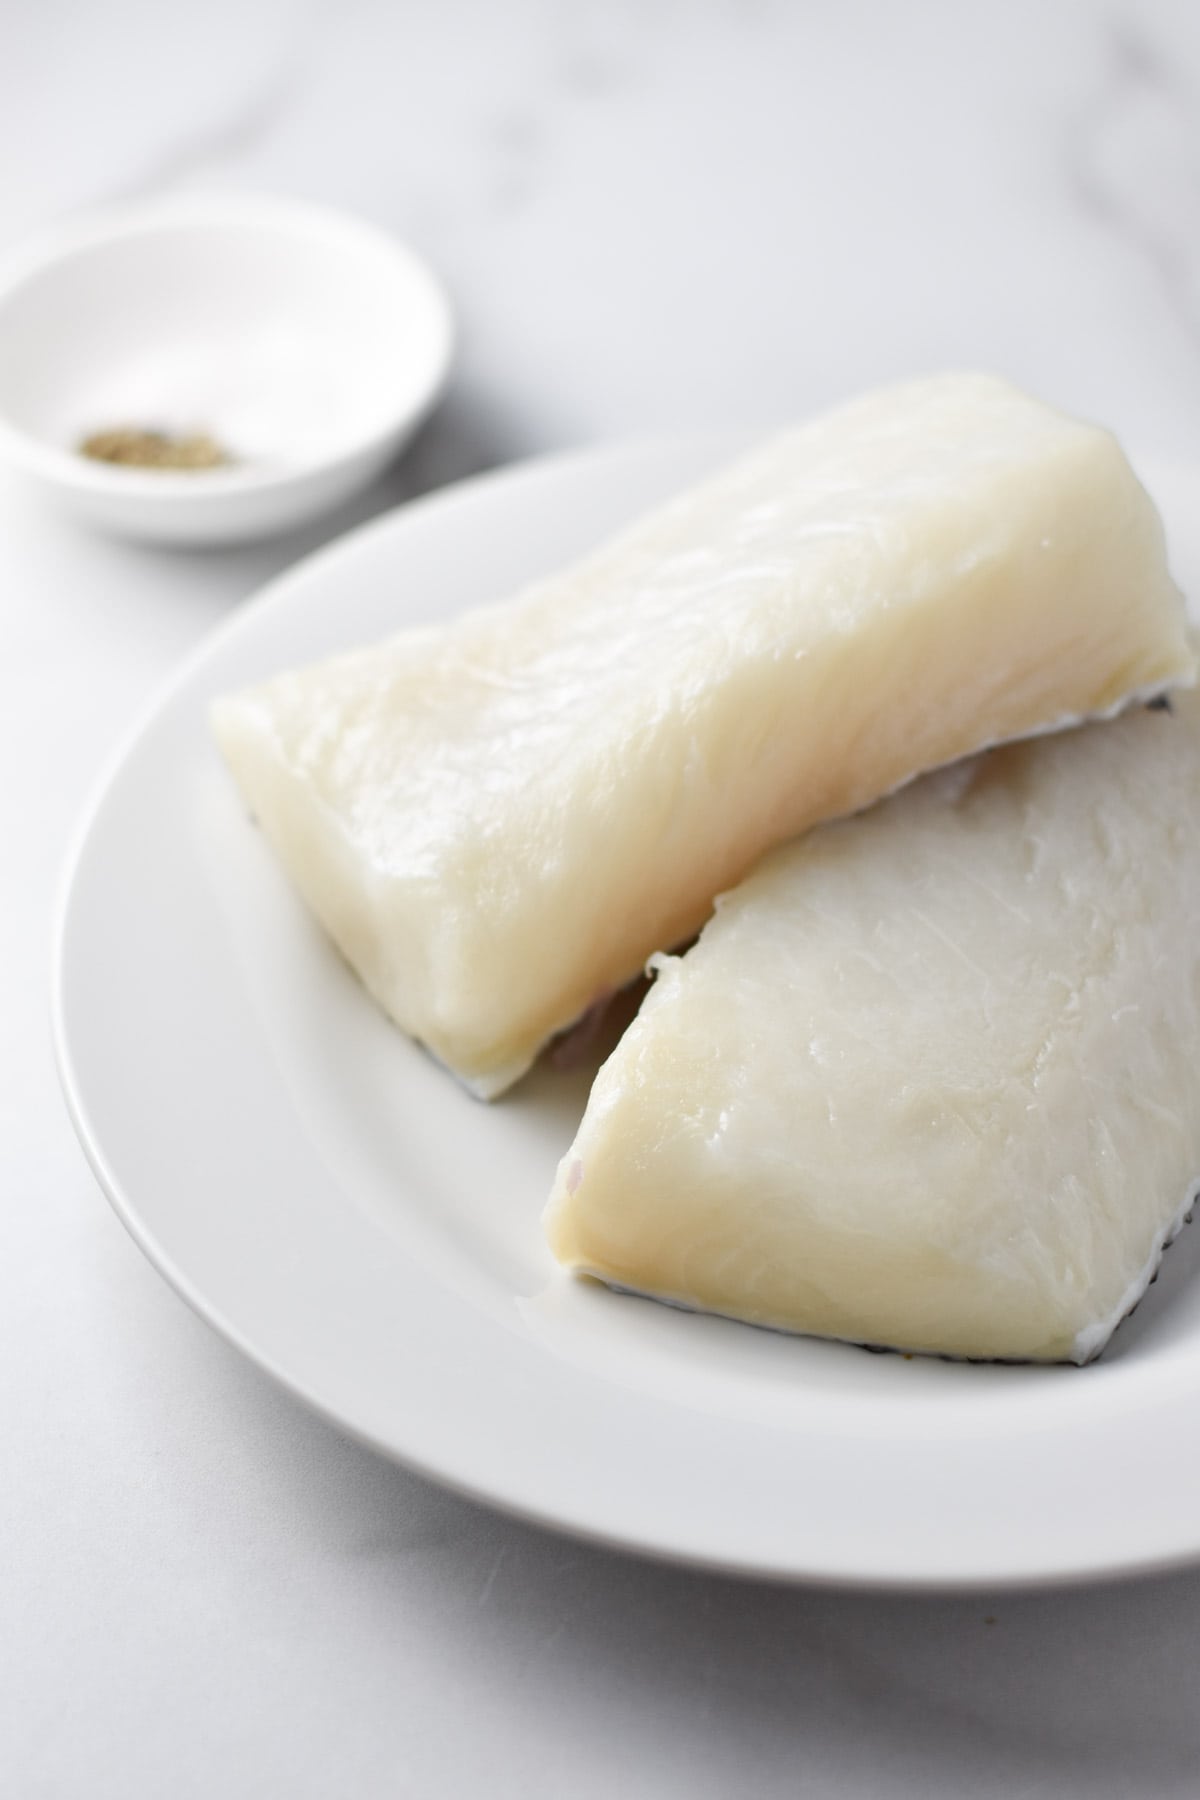
Because it doesn't have a stronger flavor like you might get with a wild salmon, it pairs extremely well with sauces and side dishes with bolder flavors. A comparable fish would be halibut, but that is a little less buttery and thick. When buying, look for fillets that are white in color and don't have a strong fishy smell.
Ingredients
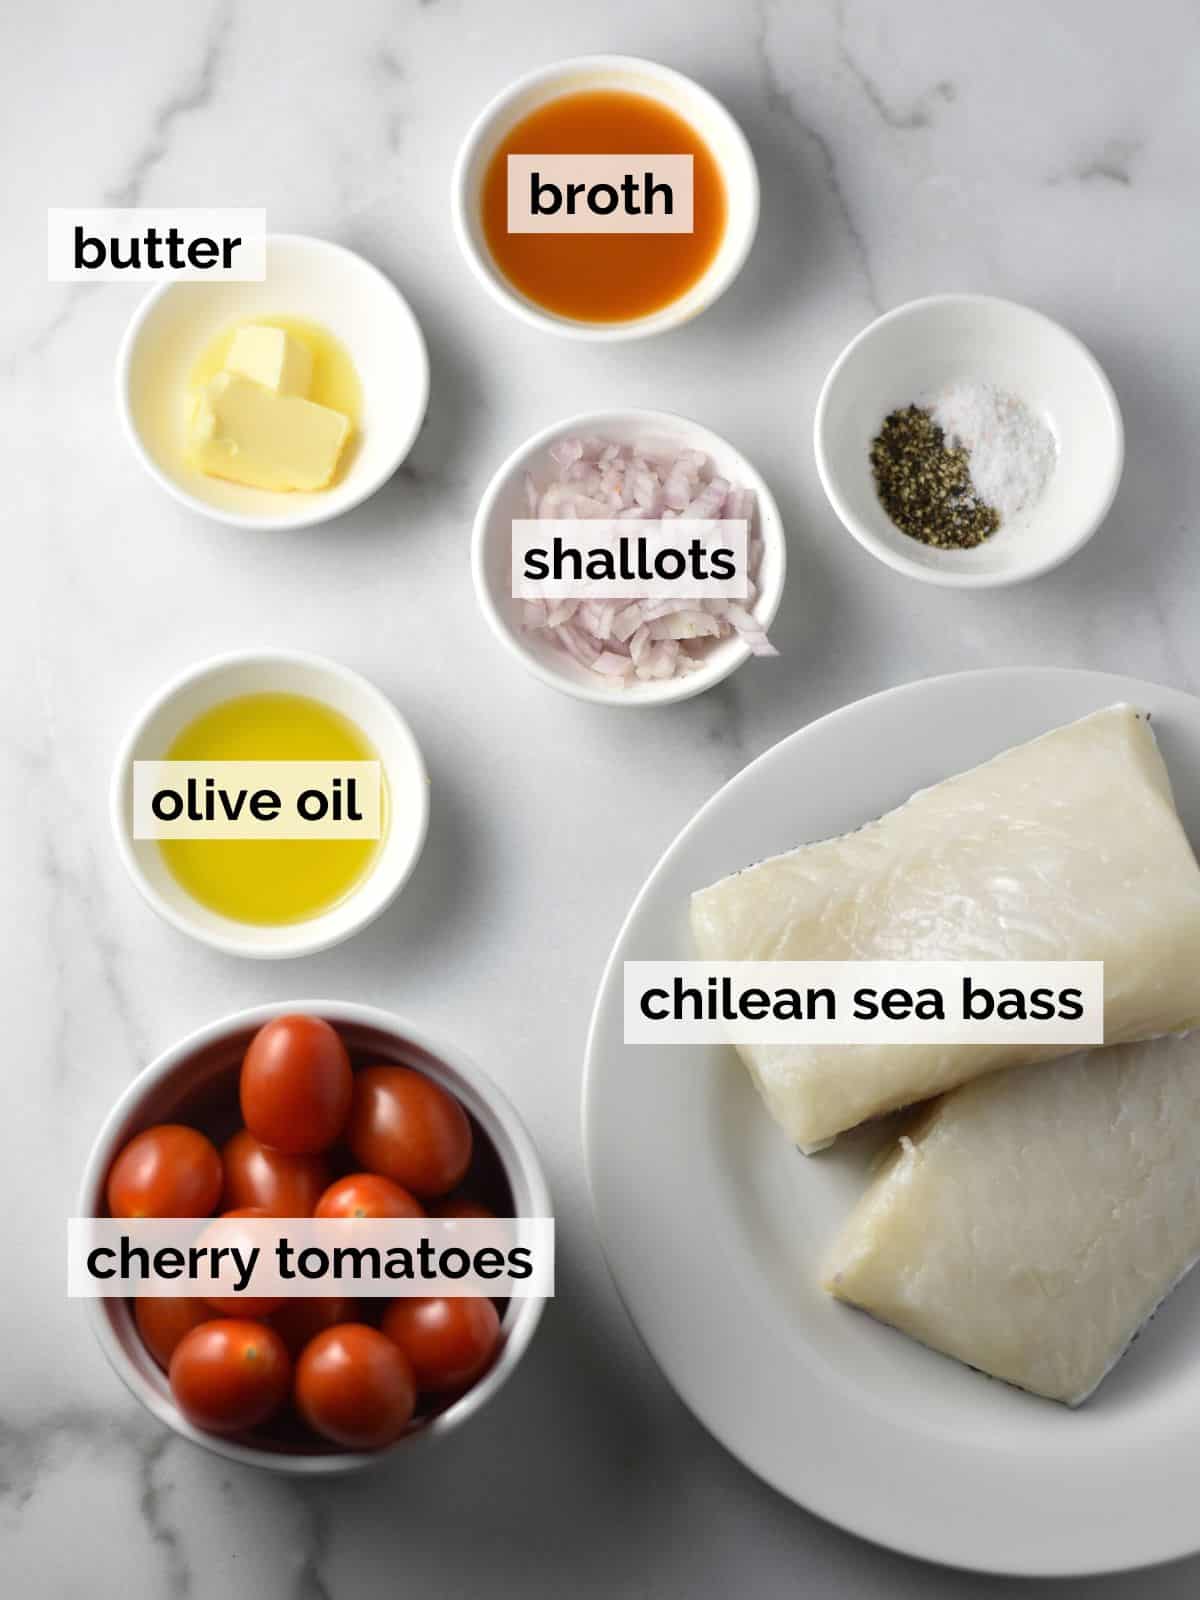
- Fresh Chilean Sea Bass - This can be previously frozen and defrosted. Although it can be expensive, I save this recipe for when my fishmonger has it at a discount or have found a good deal at Costco. You could also substitute halibut for this recipe.
- Butter and Olive Oil or Avocado Oil - I like to use a combination of the two for pan searing fish because it's still a lighter combination with just a hint of richness from the butter, yet oil has a higher cooking point than butter. This will allow you to cook the butter at a higher heat without it burning. Avocado oil is best to use if you are working with a cast iron pan that requires a higher heat level to not have the fish stick.
- Shallot - The shallot has a mild onion flavor that doesn't overpower the fish, it just adds to it.
- Broth or White Wine - For this recipe I like to use vegetable broth like Trader Joe's Hearty Vegetable, chicken broth, or white wine like a Burgundy chardonnay.
- Cherry Tomatoes - You can always omit this and just do a simply seared sea bass, but adding the roasted tomatoes makes a beautiful and light tomato butter sauce.
Step-by-Step Instructions
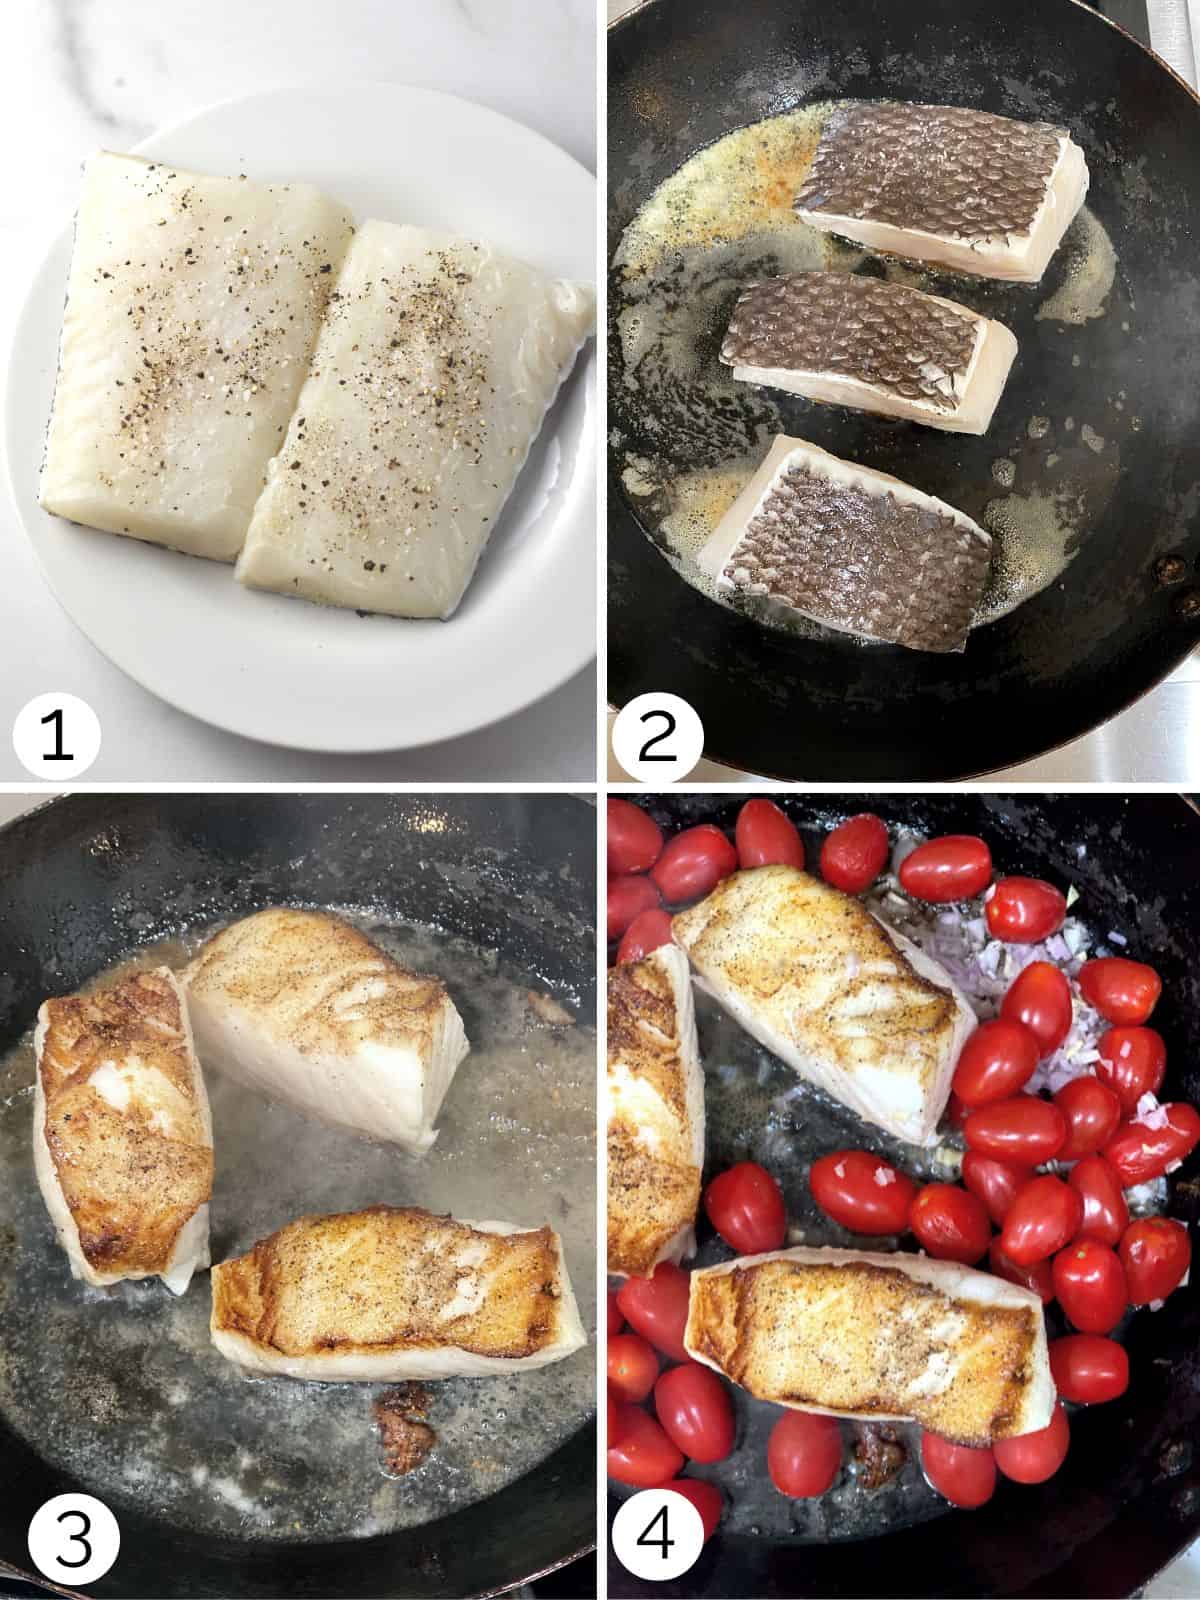
Step 1 : Pat the sea bass dry
Have all your ingredients prepped and ready to go, because pan searing fish can move quickly. In an oven-safe pan like a cast iron (I used Madein) melt 1 tablespoon of butter with 1 tablespoon olive oil over medium high heat. Meanwhile, pat the sea bass dry with a paper towel and sprinkle with kosher salt and pepper on both sides.
For a thinner sea bass fillet, you can use a non-stick pan as it should cook all the way through. If you don't have an oven-safe pan, you could also transfer it to a baking sheet.
Step 2: Sear the sea bass
Once the oil is hot enough and the butter is bubbling (not burning!), place the sea bass flesh side down and skin side up. DO NOT MOVE IT. Leave it there to sear over medium high heat at least 5 minutes. If you touch it and move it all around the pan, it won't get that nice golden brown crust. After that time you can begin to check it to see if it's nicely browned. A fish that's ready to be turned is easy to move. One that sticks is not ready to be flipped.
Once golden brown, flip the fish and cook skin side down another 4-5 minutes.
Step 3: Make the sauce
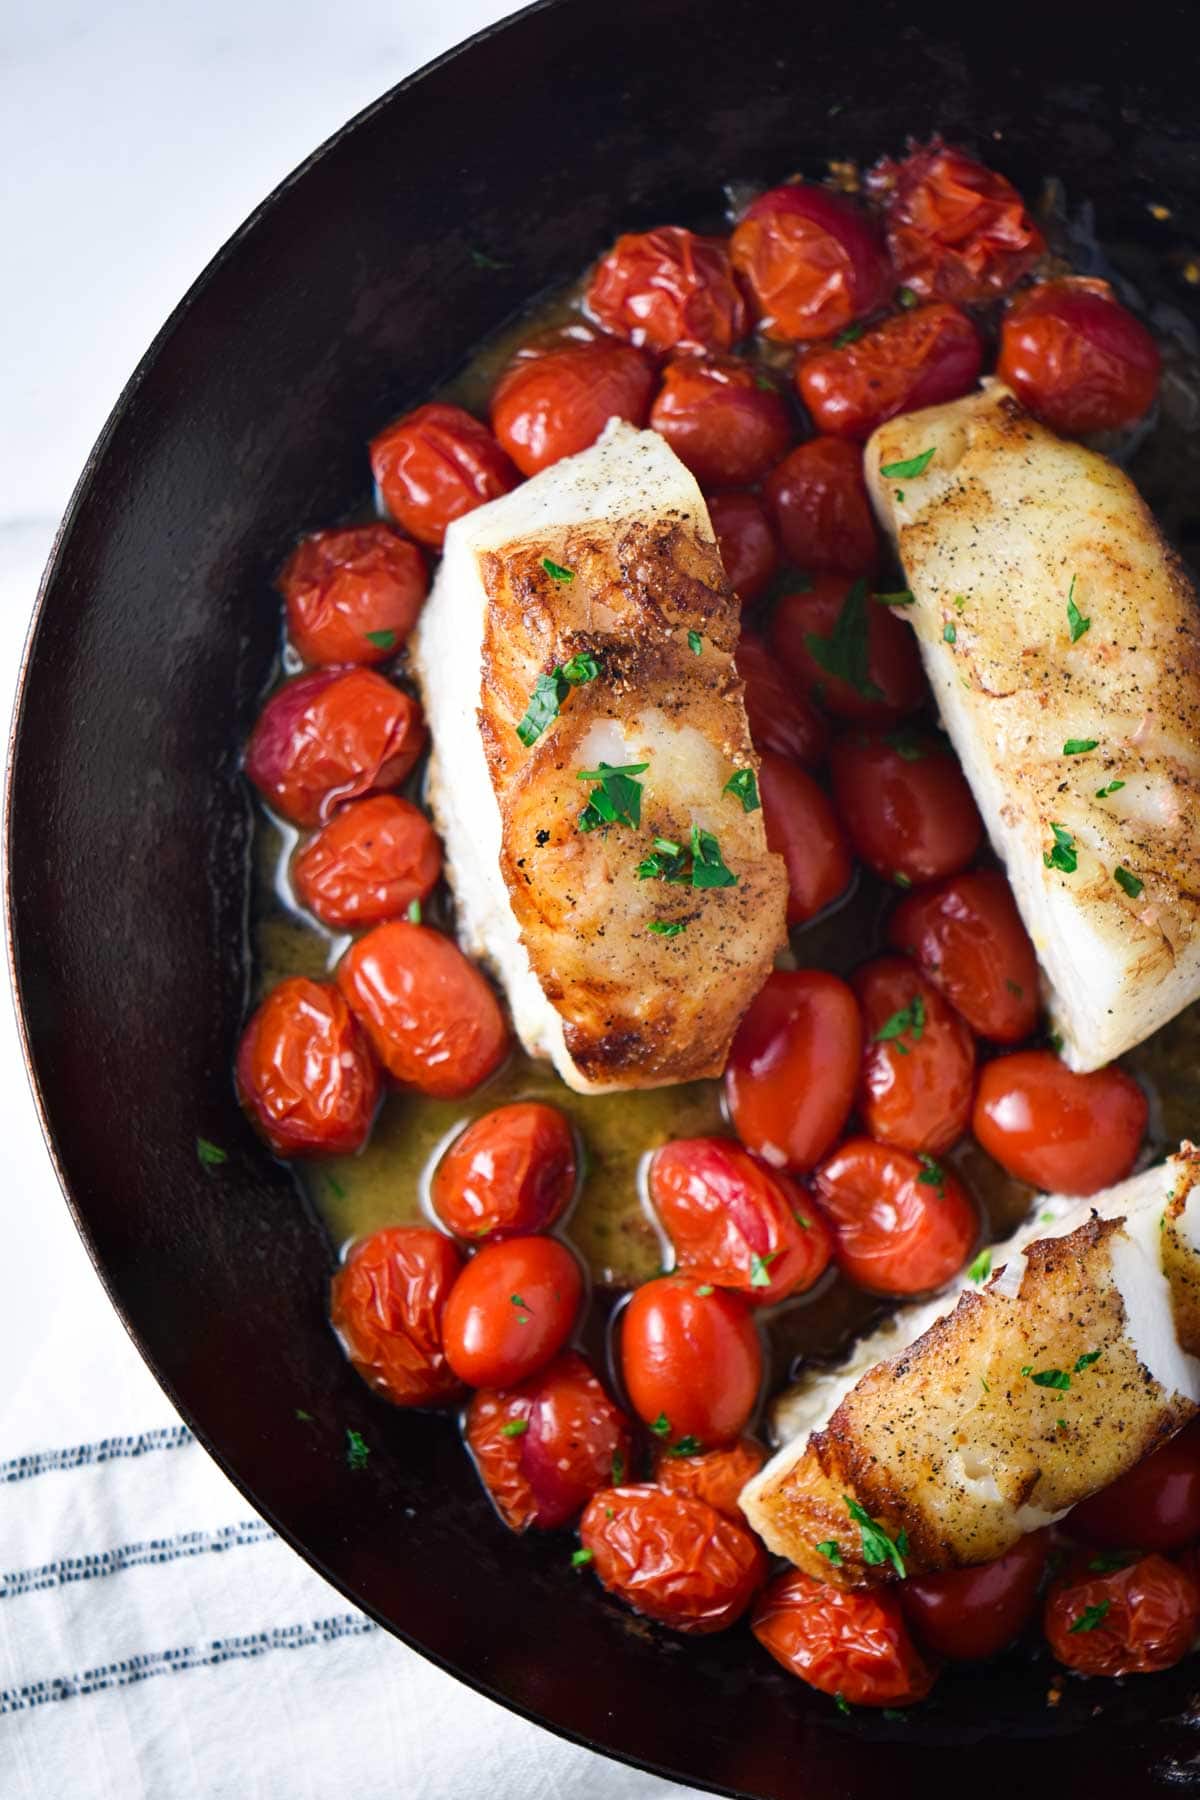
Pour in the broth or wine carefully as it will sizzle and "deglaze" the pan. Add in shallots and tomatoes stirring around the sea bass without moving the filets. Spoon some of the sauce over the fish as it cooks.
Oven Baked
For very thick seabass fillet, over 1 inch thickness, preheat the oven to 425 degrees Fahrenheit. After the initial searing transfer to the oven and bake for an additional 4-7 minutes until cooked through.
Recipe Tips
- It's important to start with dry, defrosted fish. Take it out of the fridge at least 10-15 minutes before you plan to cook it. Season right before cooking, not too far in advance.
- DON'T TOUCH IT WHILE SEARING. Resist the urge to poke and prod the sea bass. I know it's hard.
- If the filet is less than 1- 1 ½ inch thick, you can get away with just pan-searing. For a thick filet (like mine were almost 3 inches!) they will need to bake a bit in the oven - which is why you need an oven-safe pan.
- For the best sear - Use a cast iron or MadeIn's Carbon Steel Frying Pan which is oven safe and the fish doesn't stick to it if cooked properly. You can also use non-stick if not putting in the oven.
Serving Suggestions
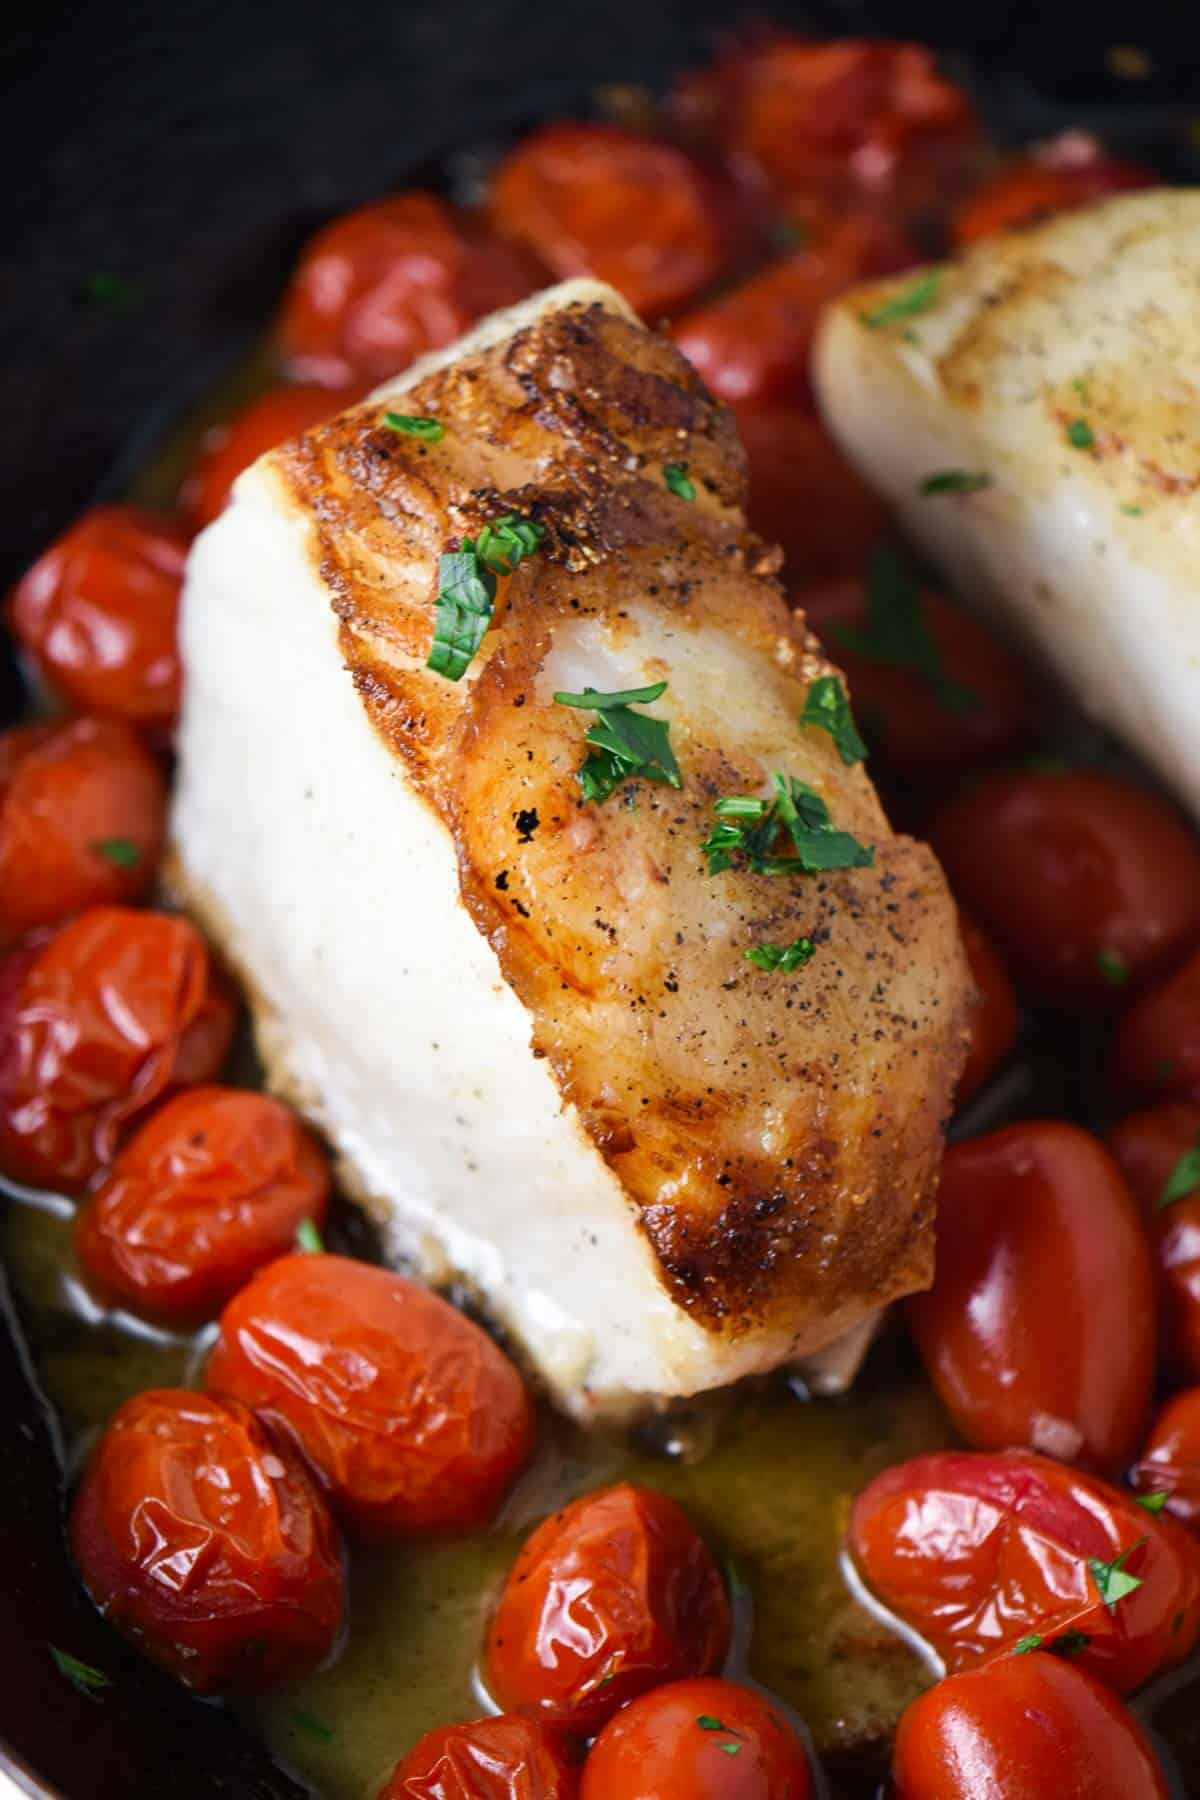
This pan seared sea bass pairs well with options that help soak up the sauce. Here are a few suggestions:
- Simple Mashed Potatoes
- Boursin mashed potatoes
- Mashed Cauliflower
- Brown rice
- Roasted asparagus
I also love to have a green on the side like roasted asparagus or a simple salad. For something a little more rich, try the Mozzarella Alfredo.
Sauce for Sea Bass
This recipe comes with a lighter shallot tomato sauce, but if you're looking for a heavier cream sauce for sea bass it's also really delicious with heavy cream.
After simmering the broth, pour in about ½ cup of heavy cream and bring to a boil, then lower to a simmer. Simmer for about 3-5 minutes until the sauce becomes thicker. It's very delicious and great for a special occasion.
Storage and Reheating
Seared sea bass will store well in the fridge for up to 3 days. To reheat, simply place in a small skillet with 1-2 teaspoons of oil and reheat over medium heat to help it crisp back up.
While you can freeze sea bass, I don't recommend it. Most are already coming to you previously frozen, so defrosting, cooking, then reheating can interfere with the best texture.
Recipe FAQ
If milk solids are an issue, you can use ghee, or use your favorite butter substitute. Olive oil works as well.
Usually I'll wait to make this when it goes on sale at my local fishmonger, which often has the freshest fillets. Another option is to buy frozen fillets and defrost them overnight in the fridge. I've found a decent deal at Costco, although they are not quite as fresh.
Sea bass is a very forgiving fish in that it's much harder to dry out than other types. Because of this, it's a good one for beginners. Cooking times can vary by thickness and I've had fillets come in a very wide variety. When the fish is cooked, there won't be any translucent parts on the inside and the fish will flake easily.
First, don't turn the fish until it's ready. If it's sticking to the pan, the pan was either not heated enough before starting or it's not ready to turn. A fish spatula can help with perfect flipping!
Usually cod is the most recommended, which is the most economical choice. I'd also suggest trying halibut, which sears great and works well with this sauce too.
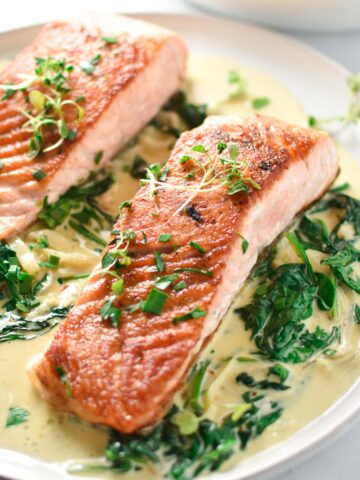
Seared Fish Recipes
For more seared fish recipes like this pan seared sea bass, check out these posts.
If you make this, tag me #thedizzycook or @thedizzycook on Facebook and Instagram. And if you love the recipe, please leave a review below! Follow along on my Pinterest for more great recipes.

Pan Seared Sea Bass
Ingredients
- 1 ¾ pounds Chilean Sea Bass, cut into 4 filets
- kosher salt and black pepper
- 1 tablespoon olive oil or avocado oil
- 1 tablespoon butter
- ¼ cup white wine or vegetable broth
- 1 shallot, chopped small
- 10 oz fresh cherry tomatoes or mini heirloom tomatoes, sliced in half if large (optional)
- 1 tablespoon parsley, chopped
Instructions
- Take the sea bass filets out of the fridge 10-15 minutes before you begin and pat dry. Season with kosher salt and black pepper on both sides. Preheat oven to 425 degrees F if using filets thicker than 1 ½ inches.
- In an oven safe frying pan (or non-stick pan for smaller fillets that won't need to be baked), heat butter and olive oil over medium-high heat until butter is bubbling, but not smoking/burning. Add sea bass filets flesh side down and DON'T TOUCH THEM for 5 minutes. If it's cooking too quickly, turn down the heat to medium. If you move them around when they're not ready, they will stick to the pan.
- Once a golden brown crust has formed, flip to skin side down. Deglaze the pan with wine or broth, add chopped shallots and tomatoes. Using a wooden spoon, stir them around the fish without moving the fish. Spoon some of the sauce over the sea bass as it cooks and pan sear for another 4-5 minutes.
- For a very thick filet (the ones I used were about 2 inches thick), transfer the whole pan to the oven and bake for 4-7 minutes until fish has cooked through. Serve warm over mashed cauliflower or potatoes.
Notes
- Use this same cooking technique with less expensive cuts of fish like cod or halibut and it will still be just as delicious. Just lower the cooking time or omit the oven step as they tend to be less thick.
- For dairy free, all olive oil can be used. Ghee is also a good option with a high heat point.
- If you don't like tomatoes, just omit them from the dish. The sauce is completely optional.
- For a more decadent cream sauce, add ⅓-1/2 cup heavy cream to the sauce once the fish has been removed. Stir often over medium high heat as it simmers and thickens, which should take about 3-4 minutes.



Wow what a keeper! So easy and just like eating at a fine restaurant. Works with any quantity of shallots, tomato, fish, broth. Honestly you can’t fail.
Easy and delicious!
Felt like I was at an expensive restaurant with this dish! Can’t wait to make for New Year’s Eve.